Learn how to reuse slides in PowerPoint 2013 for Windows. Reusing helps you save time by using existing slides.
Author: Geetesh Bajaj
Product/Version: PowerPoint 2013 for Windows
OS: Microsoft Windows 7 and higher
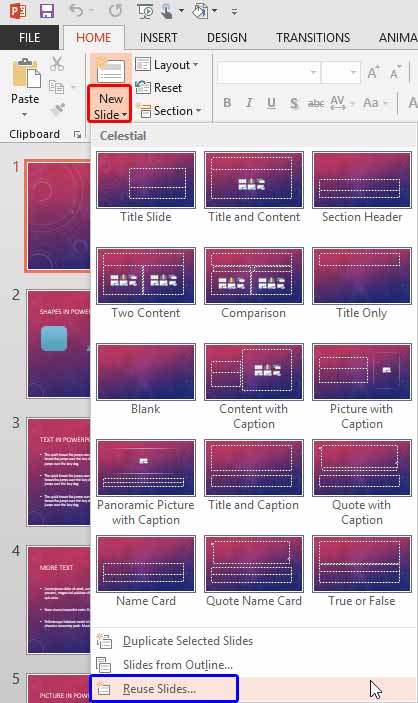
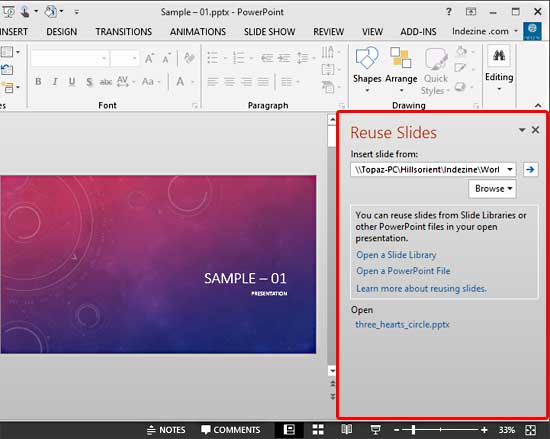
Reusing your existing slides can be a great help: first, you need not recreate stuff you already have and secondly, you are saving so much time that you can use more effectively to practice your presentation! Having said so, always start by creating an outline of your presentation. This step is important because it gives you an opportunity to plan your slides all over again. Thereafter, reuse any existing slides. PowerPoint provides a quick Reuse Slides command that locates specific slides and enables you to add them to the active presentation. While this process works the same way in all versions of PowerPoint, there are small interface changes.
In this tutorial, we'll show you how to reuse slides in PowerPoint 2013 for Windows:
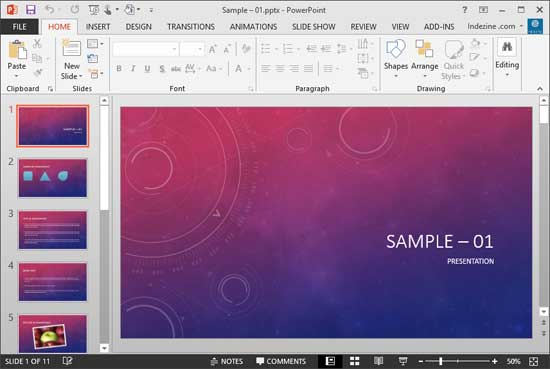
Copied slides will always be inserted after the selected slide in the active presentation.

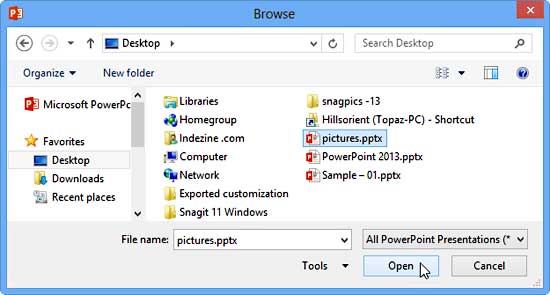
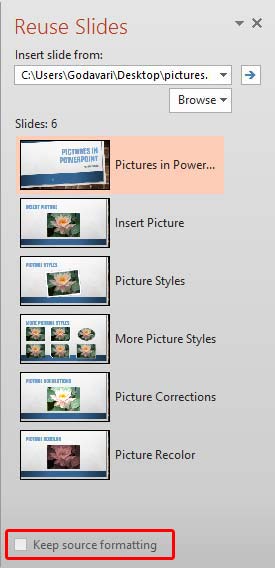
To retain the slide formatting of the original slide, make sure to select the Keep source formatting check-box, as shown highlighted in red within Figure 6, above. If you do not select this check-box, the copied slide will take on the slide formatting using the design template of the new presentation.
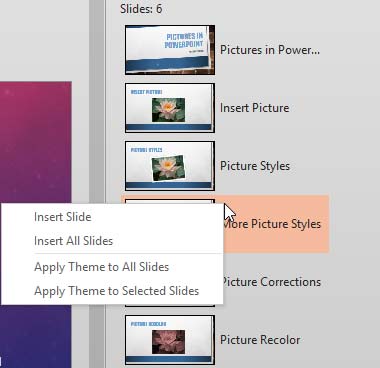
This option will insert the slide into the active presentation and the slide will use the Theme of the active presentation.
This option will insert all the slides into the active presentation and all the slides will use the Theme of the active presentation.
This option will apply the Theme of the selected slide to all the slides in the active presentation. No actual slides are inserted.
This option will apply the Theme of the selected slide to selected slides in the active presentation. No actual slides are inserted.
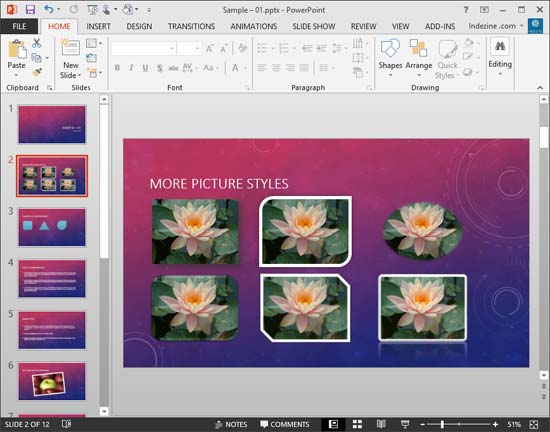
Additionally, you can also reuse older slides using the drag-and-drop process. This is explained in our Reuse Slides through Drag and Drop in PowerPoint 2013 tutorial.
01 09 07 - Working with Slides: Reuse Slides in PowerPoint (Glossary Page)
Reuse Slides in PowerPoint 2016 for Windows
Reuse Slides in PowerPoint 2016 for Mac
Reuse Slides in PowerPoint 2011 for Mac
Reuse Slides in PowerPoint 2010 for Windows
Reuse Slides in PowerPoint 2008 for Mac
Reuse Slides in PowerPoint 2007 for Windows
Reuse Slides in PowerPoint 2003 for Windows
You May Also Like: Preparing for Webinars: Conversation with Sharyn Fitzpatrick | Wavelength PowerPoint Templates


Microsoft and the Office logo are trademarks or registered trademarks of Microsoft Corporation in the United States and/or other countries.