Learn how to create outlines for presentations in Microsoft Word 2013 for Windows. These are formatted for failsafe import into Microsoft PowerPoint.
Author: Geetesh Bajaj
Product/Version: PowerPoint
OS: Microsoft Windows 7 and higher
An outline encompasses the text content within your presentation slides. In many ways, this text is the story or the structure of your presentation and forms an ideal starting point for a bunch of slides. PowerPoint can import outlines created in many applications, and we have already shown you how you can create outlines for PowerPoint presentations in Word 2010 and Word 2007.
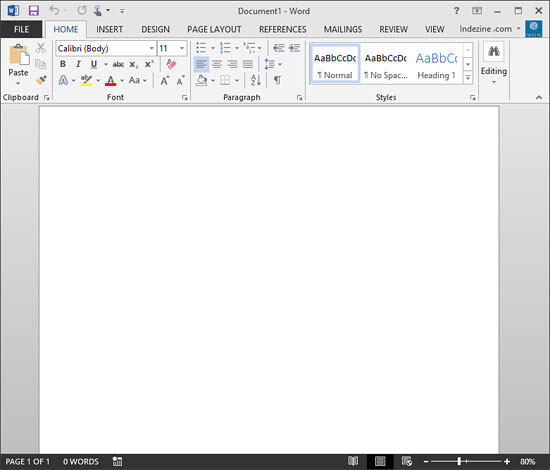
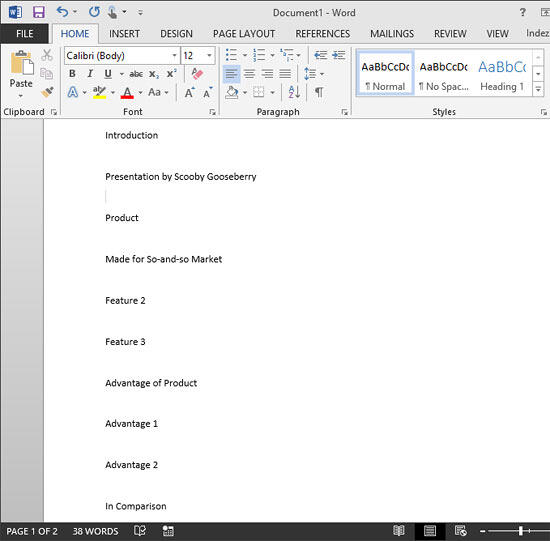
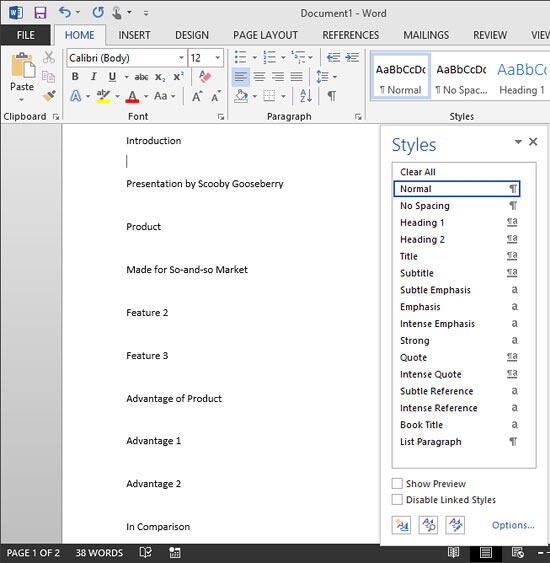
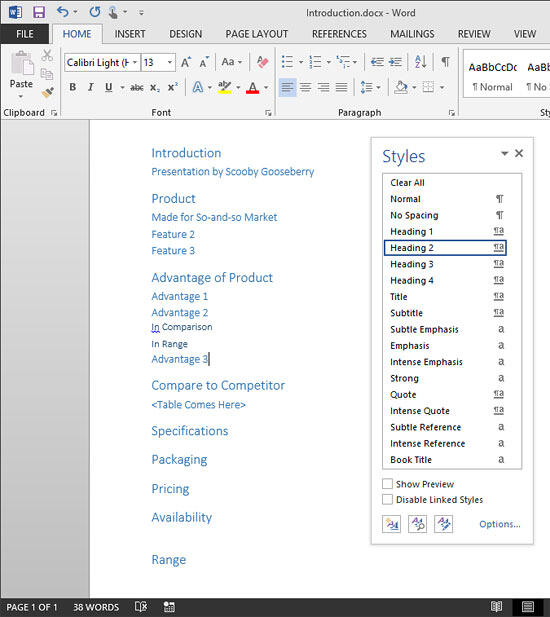
Follow these steps to create an outline for your PowerPoint presentation using Microsoft Word 2013 for Windows:

01 03 04 - Creating Slides: Creating PowerPoint Outlines in Microsoft Word 2013 for Windows (Glossary Page)
Creating PowerPoint Outlines in Microsoft Word 365 for Windows
Creating PowerPoint Outlines in Microsoft Word 365 for Mac
Creating PowerPoint Outlines in Microsoft Word 2019 for Windows
Creating PowerPoint Outlines in Microsoft Word 2019 for Mac
Creating PowerPoint Outlines in Microsoft Word 2016 for Windows
Creating PowerPoint Outlines in Microsoft Word 2016 for Mac
Creating PowerPoint Outlines in Microsoft Word 2011 for Mac
Creating PowerPoint Outlines in Microsoft Word 2010 for Windows
Creating PowerPoint Outlines in Microsoft Word 2008 for Mac
Creating PowerPoint Outlines in Microsoft Word 2007 for Windows
Creating PowerPoint Outlines in Microsoft Word 2003 for Windows
Creating PowerPoint Outlines in Microsoft Word for the Web
You May Also Like: The Art of Storytelling: Presentations Are Corporate Storytelling | Slide Dimensions in PowerPoint - Size Differences


Microsoft and the Office logo are trademarks or registered trademarks of Microsoft Corporation in the United States and/or other countries.