Archived Content
Content on this page is not recent and has been retained for historical reasons.
In the previous tutorial, we have learned about sharing presentations on SlideBoom. In this tutorial, we'll show you how to organize your account in SlideBoom.
- Login into the SlideBoom site, and click the My Account link from the navigation bar, as shown in Figure 1, below.

Figure 1: My Account option - Once you have clicked the My Account link, you will be taken to the My Account page. Here, you can see a list of sections on the left side of the page, as shown highlighted in red within Figure 2, below, and by default it shows My Presentations section. In this you can see all the presentations that you have uploaded to your account, as shown in Figure 2.
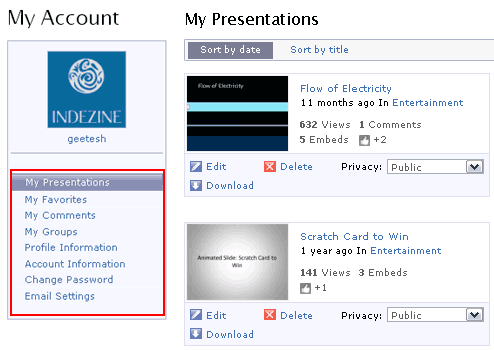
Figure 2: My Account My Presentations
- In this section, we have options Edit, Delete, Download, and Privacy for individual uploaded presentations, as shown highlighted in red within Figure 3, below.
- These options are explained below:
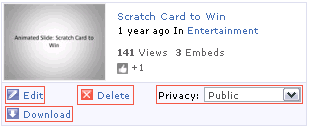
Figure 3: My Presentations Edit
- By clicking on the edit link, as shown highlighted in red within Figure 4, below, you can edit the presentation title, description, other meta tags and you can replace the presentation with another.
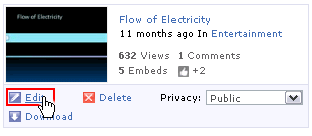
Figure 4: Edit Link option Delete
- By clicking on the Delete link, as shown highlighted in red within Figure 5, below. You can delete the presentation completely from your account.
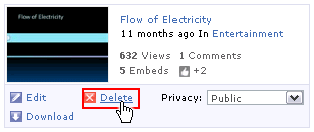
Figure 5: Delete Link Download
- By clicking on the Download link, as shown highlighted in red within Figure 6, below, you can download the presentation from your account.
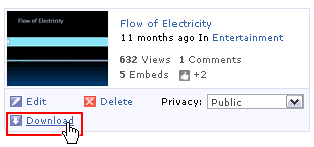
Figure 6: Download Link Privacy
- By selecting the Privacy options, as shown highlighted in red within Figure 7, below, you can make the presentations for public and private. By selecting the Public option, anyone can view the presentation on SlideBoom. The Private option is used to hide the presentation from public to view on SlideBoom.
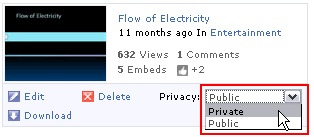
Figure 7: Privacy options My Favorites
- In this section, you can see the list of presentations that we have liked on SlideBoom site, as shown in Figure 8, below.
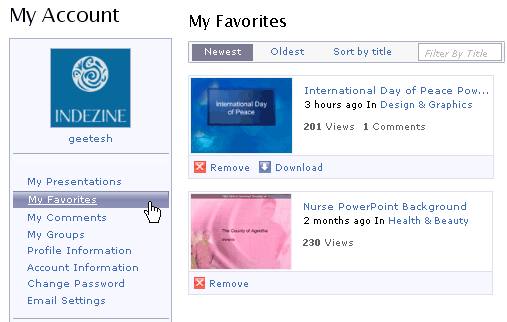
Figure 8: List of Favorite Presentations My Comments
- In this section, you can see the list of comments that you have given on SlideBoom site for other presentations, as shown in Figure 9, below.
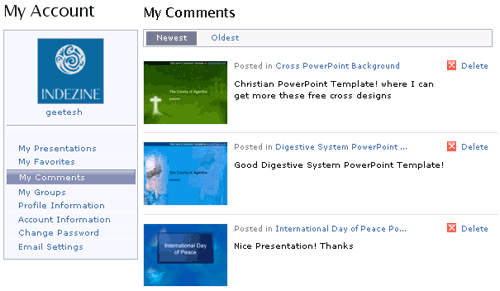
Figure 9: List of Comments My Groups
- In this section, you can see the presentations of the groups for which you have been a member and added them as group on your SlideBoom account, as shown in Figure 10, below.
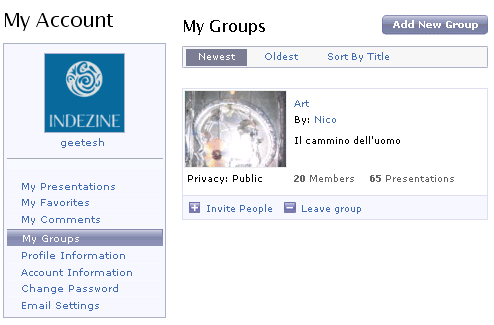
Figure 10: Presentations of the Groups Profile Information
- In this section, you can see two separate sections My Avatar and My Profile, in My Avatar section you can upload a photo or avatar of you by choosing the browse option, and in My Profile section you can provide complete details about you like name, gender, your website name, city, country, etc. Finally, you need to click on the Update button, as shown in Figure 11, below, so that all the profile information changes will be updated.
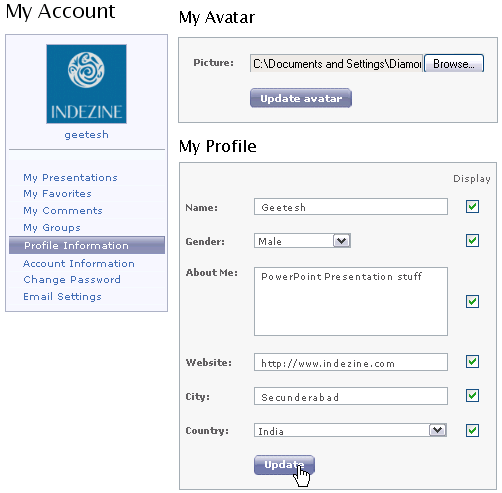
Figure 10: My Avtar and My Profile Account Information
- In this section, you can change the Login ID and Email address that you have given while registering, make the changes as required and click on the Update button to implement, as shown in Figure 11, below.
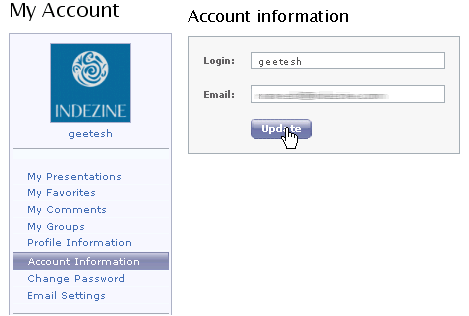
Figure 11: Account Information Change Password
- In this section, you can change the password that you have given during registration. You can see 3 separate fields Old Password, New Password, Confirm New Password, type your present password in the Old Password field and type your new password in both New Password and Confirm New Password fields and click on the Update button, as shown in Figure 12, below.
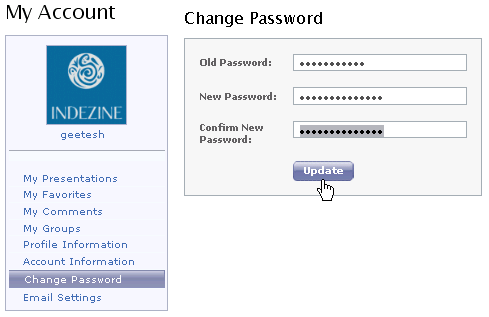
Figure 12: Change Password Email Settings
- In this section, you can see 7 different types of email options where you can select any of them or all of them. By selecting these options you will get updates from SlideBoom team, as shown in Figure 13, below. Click Update once you make your choices.
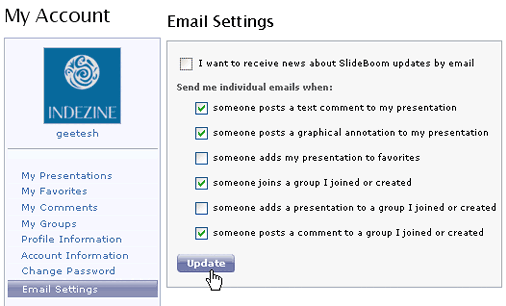
Figure 13: Email Settings
In the next tutorial in this series, we'll show you about SlideBoom privacy options.


