Learn to recover new, unsaved presentations manually in PowerPoint 2010 for Windows. For this feature to work, you must enable AutoRecover and AutoSave options.
Author: Geetesh Bajaj
Product/Version: PowerPoint 2010 for Windows
OS: Microsoft Windows XP and higher
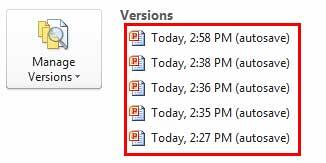
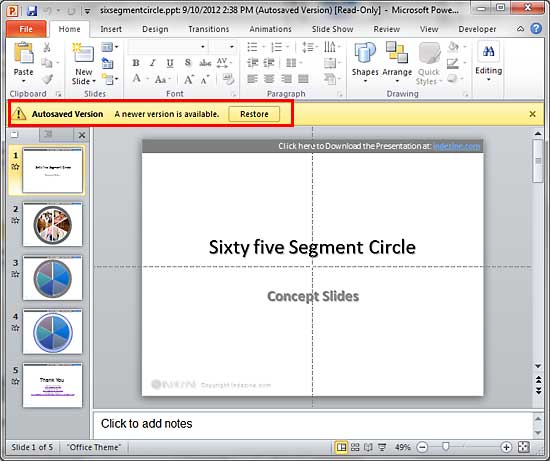
When you are working on a PowerPoint presentation, the AutoSave option, if enabled, automatically saves your file at the specified time increments. This means you can replace your current file with an earlier version. Enabing this option can be very useful if you want to go back to the state of your slides an hour ago, or even two hours ago without having to use any Undo option.
Make sure that the AutoSave option is enabled to follow the rest of this tutorial.
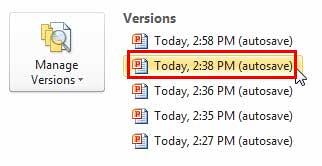
To view and replace your current file with an earlier version, follow these steps using PowerPoint 2010 for Windows:


The autosaved versions of the current presentation are typically deleted when you close the file.


16 03 04 - Manage Versions: Restoring Earlier Versions in PowerPoint (Glossary Page)
You May Also Like: Smarter Slides Add-in for PowerPoint: Conversation With Lennart Wiehler | Strawberry PowerPoint Templates


Microsoft and the Office logo are trademarks or registered trademarks of Microsoft Corporation in the United States and/or other countries.