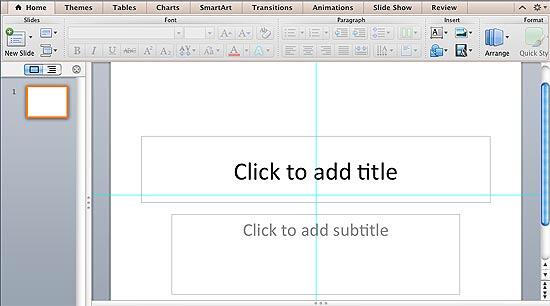
When static guides are enabled in any presentation, they show up in the same position on all other slides. You'll find that only two static guides (one horizontal and one vertical) are visible at first, and these two guides intersect at the center of the slide. Most of the time, this might work for you, but to help you in positioning slide objects better across successive slides.
Follow these steps to spawn new guides in PowerPoint 2011 for Mac:
- Launch PowerPoint, and make sure that the static guides are visible. In Figure 1, below, you can see the Title slide with default guides visible.

Figure 1: A PowerPoint slide with guides visible- It's a good idea to make the Ruler visible in your presentation, as shown highlighted in red within Figure 2, below. Rulers give you more control over positioning of the new guides.

Figure 2: Rulers made visible in PowerPoint- Place your cursor over any of the guides (for this tutorial we have placed the cursor over the vertical guide) and click it so that it is selected, as shown in Figure 3, below. Don't release your mouse click yet. if the guide shows digits defining its position in the cursor, as shown highlighted in red within Figure 3, you can be assured that it has been selected.

Figure 3: Selected guide's position indicated on cursor
Selecting Guides
- If you have a slide that already has several slide objects, you might end up selecting a slide object rather than the guide. In that case, select the guide in an area a little outside the Slide Area, and you will still be able to follow the rest of the steps explained in this tutorial.
- With your hold on the cursor still active to keep the guide selected, press the Option (Alt) key on the keyboard and drag the mouse towards right or left of the slide to create a new guide. You'll see a live indicator of the position of the new guide as you drag the digits indicator, along with a distinct plus sign in the cursor, as shown highlighted in red within Figure 4. Note that if you do not press the Option (Alt) key, you will end up moving the guide rather than duplicating it.

Figure 4: New guide being added- Once you have placed the new guide in the required position, first release the mouse button and then the Option (Alt) key to place it as a new guide. If you release the Option (Alt) key first, you will end up moving the selected guide to the new position.
- As shown in Figure 4, above, a new guide has been created 4.00 cm left to the default vertical guide. The default vertical guide is located at 0.00, which places it right in the center, you can create new guides towards both the left and right of this default guide.
Inches or Centimeters?
- Does your new guide show its position indicator in centimeters or inches? The unit of measurement shown for guides is based on whatever unit your ruler shows and cannot be changed within PowerPoint, this setting is influenced by whatever you choose in your PowerPoint Preferences menu. For more information, go to our Change the Unit of Measurement in PowerPoint 2011 for Mac tutorial.
- You can add as many Guides as you want both horizontally and vertically. And if you want to delete the guide, just select it and drag it out of the Slide Area.


