Learn how you can resize, rotate, and flip video clips in PowerPoint 2010 for Windows. These repositioning options allow you to make your video clips stand apart.
Author: Geetesh Bajaj
Product/Version: PowerPoint 2010 for Windows
OS: Microsoft Windows XP and higher
In this series of tutorials on working with videos in PowerPoint 2010, you have already learned about correction adjustments for videos and recoloring video clips. We also explored applying Video Styles, Video Effects, Video Shapes, and Video Borders to help you enhance the look of your inserted videos. These options will make your video clips look better and focused, and will provide you with ideas to make your video clips stand apart. Yet, there are some very basic video editing options that can be even more significant. These include how you can resize, rotate, and flip your inserted video clips. Resizing can help you change dimensions of your video clips, while slight changes in rotation values can draw attention. Flip, the last of these options though is something you will almost never use, unless you want to do something drastically different!
Whether you want to resize, rotate, or flip video clips, the first few steps remain the same for all these options in PowerPoint 2010 for Windows:
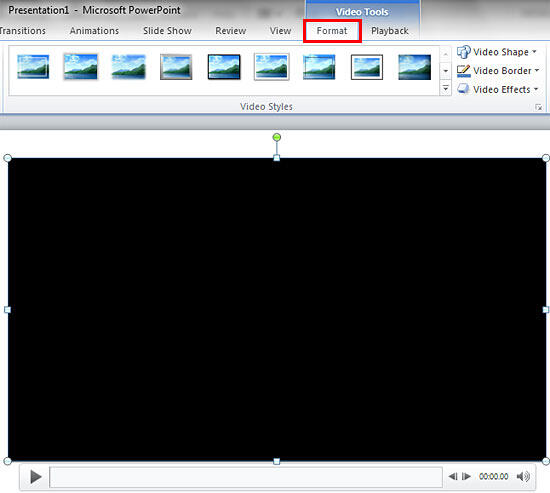
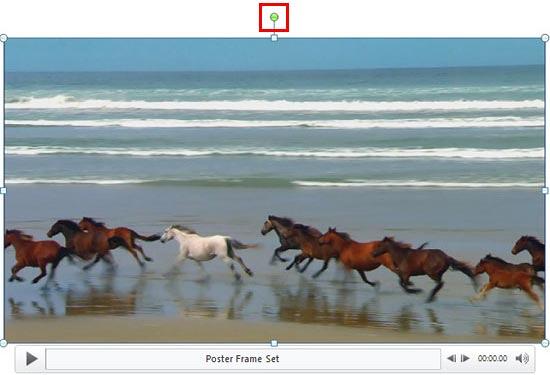
You can resize a selected video in any of the two ways mentioned below:

To learn more about advanced options to resize the selected video, click the small arrow dialog launcher located at the bottom right corner of the Size group, as shown highlighted in blue within Figure 3, above. Thereafter, follow instructions within our Resizing Shapes tutorial to proceed further.
You can rotate a selected video in any of the two ways mentioned below:
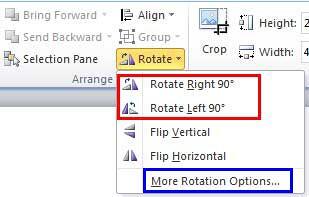
To learn more about advanced options to rotate selected video, right-click the video and, choose the Size and Position option in the resultant contextual menu. Alternatively, click More Rotations Options within the Rotate and Flip drop-down gallery, as shown highlighted in blue within Figure 4, above. Either way, you summon the Format Video dialog with the Size option selected in the sidebar, as shown in Figure 5, below.
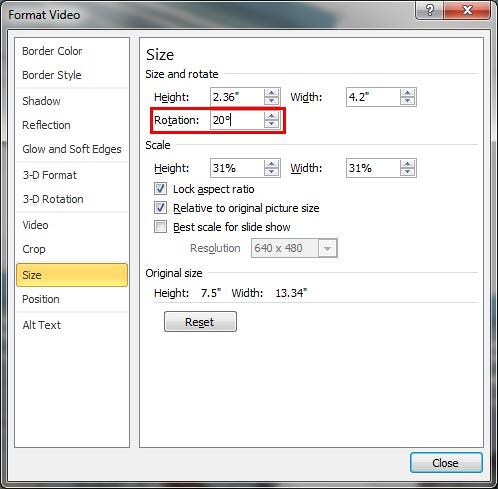
Figure 5: Rotation option within the Format Video dialog box
Change the Rotation option, as shown highlighted in red within Figure 5, above, to any value from -360o to 360 o or type a zero rotation value to restore the original placement of the video clip.
As with Resize and Rotate, there are two options available to Flip the picture:
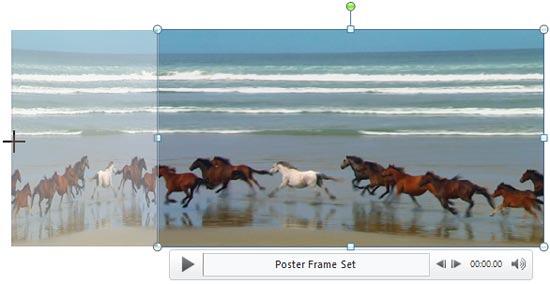
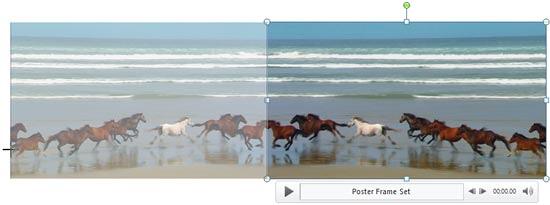
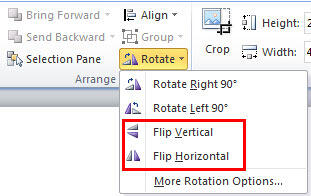
In Figure 9, below, you can see the selected video clip in its original form as well as its variations in which the video clip has been resized, rotated, and flipped.
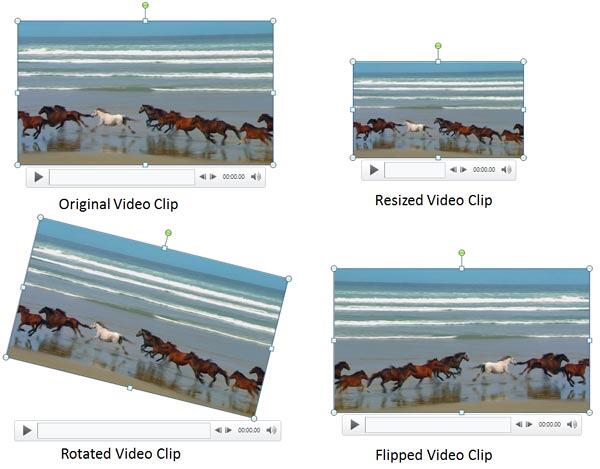
Figure 9: Variants of the same video clip applied with resize, rotate, and flip options
14 02 11 - Video in PowerPoint - Basics: Resize, Rotate, and Flip Videos in PowerPoint (Glossary Page)
Resize, Rotate, and Flip Videos in PowerPoint 2016 for Windows
Resize, Rotate, and Flip Videos in PowerPoint 2013 for Windows
Resize, Rotate, and Flip Videos in PowerPoint 2011 for Mac
You May Also Like: Upgrade from Writing to Digital Signage | Banking PowerPoint Templates


Microsoft and the Office logo are trademarks or registered trademarks of Microsoft Corporation in the United States and/or other countries.