Similar to Shape Styles that you apply to shapes, PowerPoint provides you with Video Styles for your inserted video clips. These pre-built Video Styles add edges, shapes, and effects to videos, and can be applied with a single click. Your videos no longer need to be rectangular. Some of the Video Styles change the video clip so that it plays within an oval or a rounded rectangle. Video Styles also transform the look of your inserted videos by applying borders, 3-D effects, shadows, frames, etc. around your video clip.
Follow these steps to apply Video Styles to a selected video clip in PowerPoint 2010 for Windows:
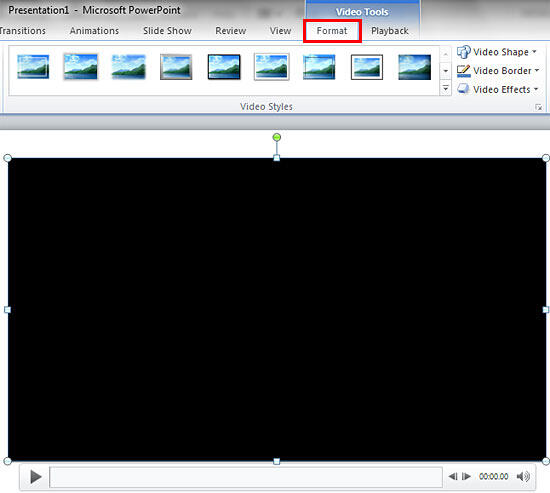
- Open your presentation, and navigate to the required slide where you have already inserted a video clip. Select or double-click the video clip to bring up the two Video Tools contextual tabs in the Ribbon. These two tabs are Format and Playback. Click the Format tab to activate it, as shown highlighted in red within Figure 1, below.

Figure 1: Video Tools Format tab of the Ribbon
Contextual Tab
- The Video Tools Format tab is a Contextual tab. These tabs are special tabs in the Ribbon that are not visible all the time. They only make an appearance when you are working with a particular slide object which can be edited using special options.
- When you insert a video onto your slide, it may display a black rectangle on the slide, as shown in Figure 1, above. If your video clip does not show a black rectangle, then directly proceed to Step 3.
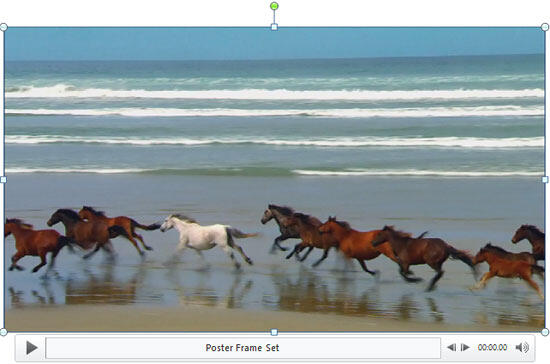
- If you see the black rectangle in place of the video clip, then you will not see any live preview of the actual Video Styles you are applying. This is because you see a black rectangle instead of a frame associated with the video clip. To make sure you see a video frame during live preview, add a Poster Frame to your video clip. That way you will see a video frame in the place of a black rectangle, as shown in Figure 2, below.

Figure 2: Video playing shows an actual video frame - Once you make the video frame visible, select the Video Tools Format tab, and locate the Video Styles group. Then, click the More button, which is the downward-pointing arrow, as shown highlighted in red within Figure 3, below.

Figure 3: More button within the Video Style group - Doing so brings up the Video Styles drop-down gallery, as shown in Figure 4, below. This gallery displays a collection of pre-built Video Styles that are ready to use.

Figure 4: Video Styles drop-down gallery
Video Styles
- If you have added a Poster Frame to your inserted video clip. Hover the cursor over any of the style previews within the Video Styles drop-down gallery. Also, place your video clip in an area that is not covered by the Video Styles drop-down gallery, so you can see the live preview. As you move over different previews, the selected video clip shows a live preview of the style applied.
- Click on the preview thumbnail within the Video Styles drop-down gallery to apply the style to the selected video clip.
- Figure 5, below, shows the selected video with a Video Style applied (compare with Figure 2).

Figure 5: Video Style applied to the video - Click on the slide area away from the video to deselect it. Play your video clip to see the difference. Make sure to save your presentation.


