Whenever you save a file or open an existing file within PowerPoint for iPad, you access what is called a Place. Thus, a "Place" is a location to save and access files. The question then is, why do you need a Place? Can't you navigate a file structure and save files? No, you cannot because the iPad does not expose its file structure. In addition, some Places you access on an iPad are cloud locations such as OneDrive, SharePoint, Dropbox, iCloud, etc., that are not part of the iPad's storage. So, in other words, a Place is a determined and established location.
Let us now work with Places:
- Make sure you are signed in to your Microsoft account. Then, tap on the Open icon on your left pane, as shown in Figure 1, below.
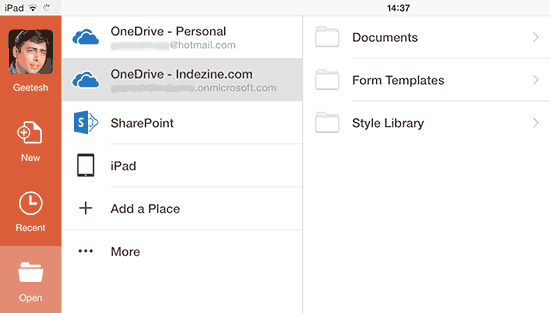
Figure 1: Tap the Open icon- You'll see a list of places on the right, including the OneDrive location for the Microsoft account you signed in with. In addition, you may or may not see some more places:
- More OneDrive locations: These could show up because you have more than one OneDrive subscription, or you have access to someone else's OneDrive location.
- SharePoint locations: These could show up as part of your higher-end OneDrive subscriptions, or if you have access to a SharePoint location provided by your company or someone else.
- A place called iPad: This location indicates files that can be accessed and saved locally on your iPad.
- Additionally, you will see the Add a Place and More options.
- Let's now tap the Add a Place option. Doing so brings up the window, as shown in Figure 2, below.
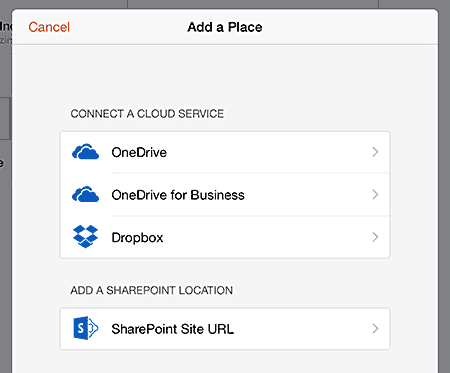
Figure 2: Add a Place- Now, tap on any of the options you see here. We will choose the Dropbox option. To continue, you must have a Dropbox account. A basic Dropbox account is free, and in case you don't have one, you can sign up for a Dropbox account here. Thereafter, follow these subsequent steps.
- After you tap the Dropbox option, you may be asked to sign in to your Dropbox account. If you are already signed in to Dropbox on the same iPad, you won't need to sign in. Thereafter, you will have to allow PowerPoint to access Dropbox, as shown in Figure 3, below. Tap the Allow option to proceed.
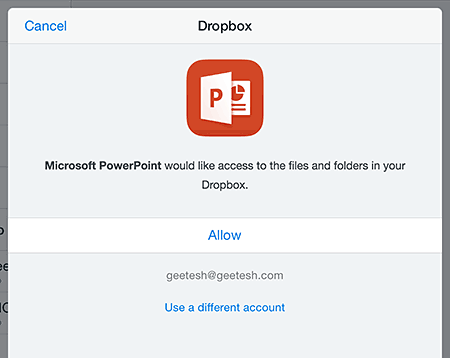
Figure 3: Dropbox wants your permission to provide access to PowerPoint- Dropbox now authorizes PowerPoint, as shown in Figure 4, below.
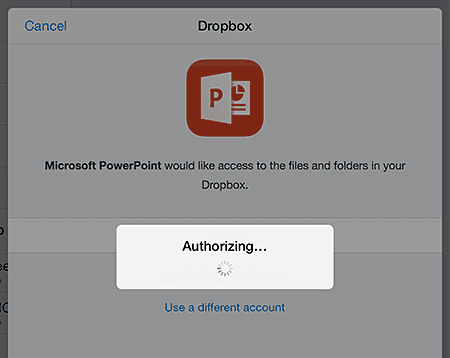
Figure 4: Authorizing in process- Next, you will be redirected to PowerPoint again, where you can see Dropbox listed as a Place, as shown in Figure 5, below. Compare with Figure 1, shown previously on this page.
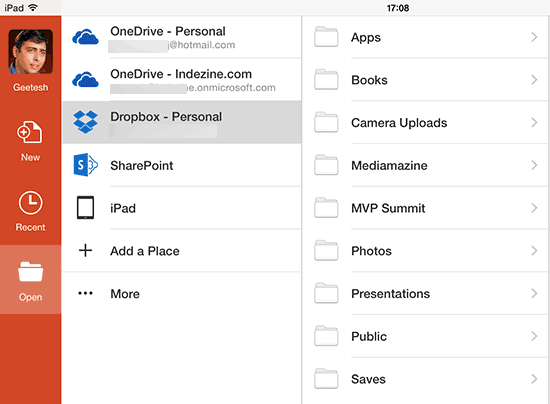
Figure 5: Dropbox is now a Place- You can similarly add more Places, including another Dropbox, SharePoint, or OneDrive account. Apple's iCloud accounts also work with PowerPoint on the iPad, but that's not listed under Places.
Dropbox is a PowerPoint-Only Place
- Places such as Dropbox that you add in PowerPoint will not show up on Excel or Word on the iPad. However, all Places associated with your Microsoft account, such as your OneDrive and SharePoint locations, will show up on all Microsoft Office apps on the iPad.


