Apply Soft Edges to Shapes in PowerPoint 2016 for Windows
Apply soft edge effects to shapes in PowerPoint 2016 for Windows.
Author:Geetesh Bajaj
Product/Version: PowerPoint 2016 for Windows
OS: Microsoft Windows 7 and higher
Among the various Shape Effects available in
PowerPoint, probably the most subtle one is the Soft Edges effect. This effect adds an eaten-up, feathered edge to a
selected shape. Soft Edges work best with larger shapes, especially if you use some of the larger Soft Edge variations available. PowerPoint provides some ready-to-use Soft Edges as shown in Figure 1, below.
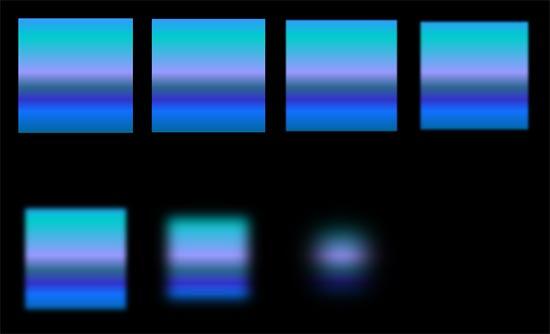
Figure 1: Default Soft Edge effects
Additionally, there is an option to format these ready made offerings. In this tutorial, we'll show you how to apply the default soft edge
effects to a shape.
To see a sample presentation containing shapes with Soft Edges applied in PowerPoint, scroll down to the bottom of this
page.
Follow these steps to apply Soft Edges to a shape in
PowerPoint 2016:
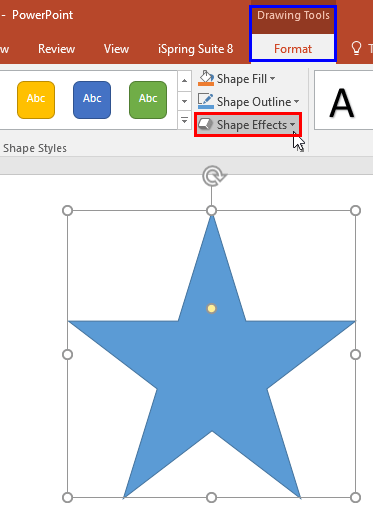
Select the shape so that the
Ribbon shows the Drawing Tools Format tab,
as shown highlighted in blue within Figure 2. Activate this Ribbon tab by
clicking on it. Within the Drawing Tools Format tab click the Shape Effects button (highlighted in
red within Figure 2).
Figure 2: Shape Effects button
Note: The Drawing Tools Format tab is a contextual tab. These tabs are special tabs
in the Ribbon that are not visible all the time; they only
make an appearance when you are working with a particular slide object which can be edited using special options.
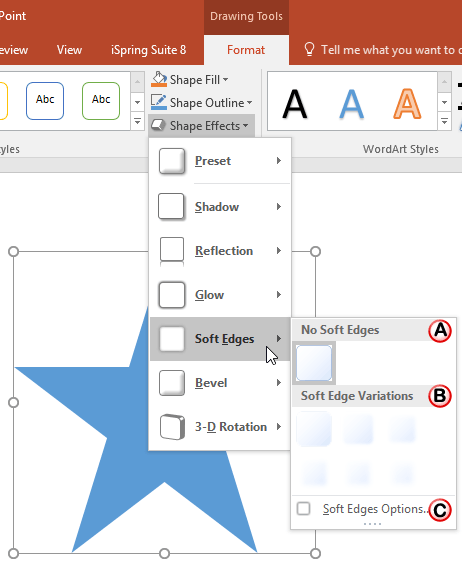
This brings up the Shape Effects drop-down gallery, as shown in Figure 3. From this gallery, choose the
Soft Edges option. This brings up the Soft Edges sub-gallery (refer to Figure 3 again).
Figure 3: Soft Edges Option
The options within the Soft Edges sub-gallery are explained below, as marked in Figure 3, above.
A. No Soft Edges
Use this option to remove soft edges from a selected shape.
B. Soft Edge Variations
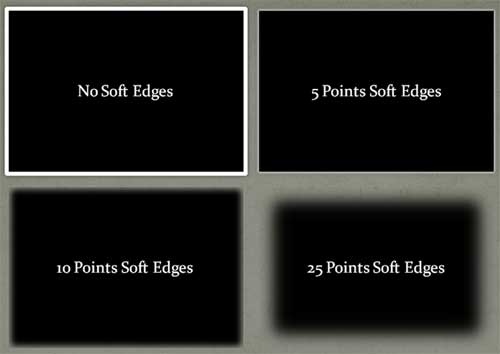
There are six soft edge styles available in several point sizes ranging from 1 point to 50 points. Three of these styles (5 points, 10
points, and 25 points) can be seen in Figure 4.
Figure 4: Soft Edges style variations
C. Soft Edges Options
This allows you to format soft edges beyond ready made offerings in PowerPoint 2016. Want to learn more about those options? Read our
Advanced Soft Edges Options in PowerPoint 2016
tutorial.
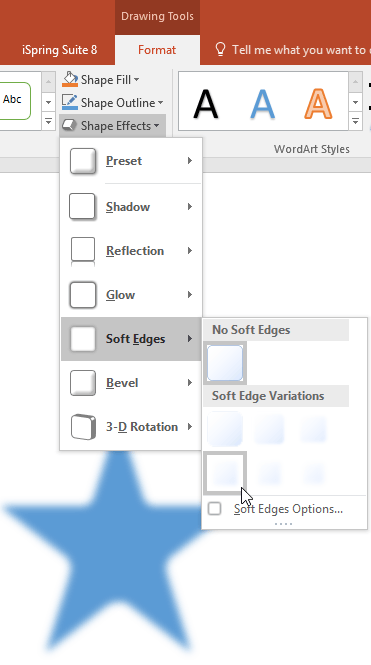
Move the cursor over any of the effects within the Soft Edge Variations gallery to see a
Live Preview of the effect on the shape, as shown in
Figure 5.
Figure 5: Shape with the live preview of the Soft Edge effect
Tip: Place your shape in the area that is not covered by the Shape Effects drop-down gallery as shown in
Figure 5 above, so that you can see the
Live Preview.
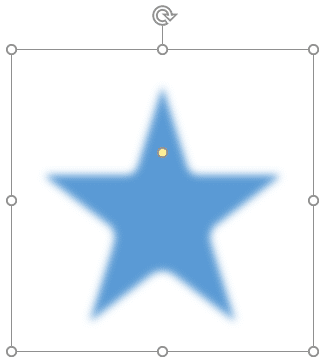
Click on any effect to apply to the selected shape. In Figure 6 you can see that a Soft Edge effect has
been applied to the previously selected shape.
Figure 6: Soft Edges applied to the Star shape
Remember to save your presentation often.
Tip: Try applying Soft Edge effects applied to the shapes with
Picture Fills to provide a cool effect.
The Feature List Layout comprises three sample PowerPoint presentations: one each to create a visual list for 4 features, 5 features, and 6 features.
These work great when you have too much information to fit within one slide. This solution lets you use multiple slides, but the visual result is
still that of one single slide!