Learn how to add picture fills to selected text in PowerPoint 2013 for Windows. But do choose your pictures carefully so that they work well as text fills.
Author: Geetesh Bajaj
Product/Version: PowerPoint 2013 for Windows
OS: Microsoft Windows 7 and higher
PowerPoint's Text Fill gallery provides you with plenty of text fill options which work similar to the fills for shapes within the Shape Fill gallery. However, a basic color fill is not the only option available for text fills in PowerPoint. In this tutorial, we will explore how you can use a picture as a fill for your selected text. Although picture fills can look awesome on text and make it stand apart, you must use some caution.
Look at Figure 1 below, and you will notice that the text on the top portion of the slide uses a busy picture with too many colors. This results in a text fill that makes the text very segmented and distracting. Comparatively, the text on the bottom half of the slide uses a picture that is not too crowded and has fewer colors. The resulting text fill looks more calm and appealing.

Figure 1: For text fills, use pictures that are not too busy, and have fewer colors
The learning we achieve from the sample shown in Figure 1 is:
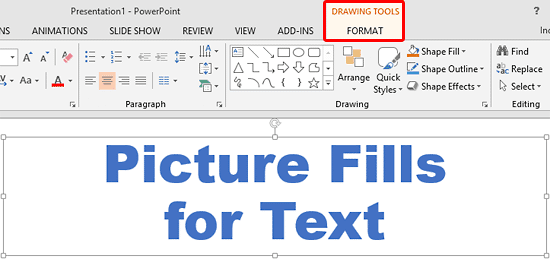
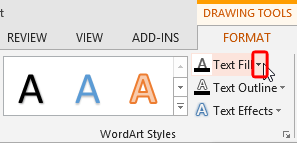
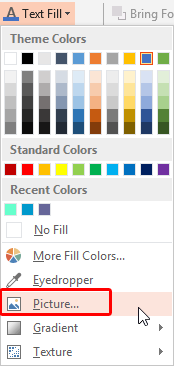
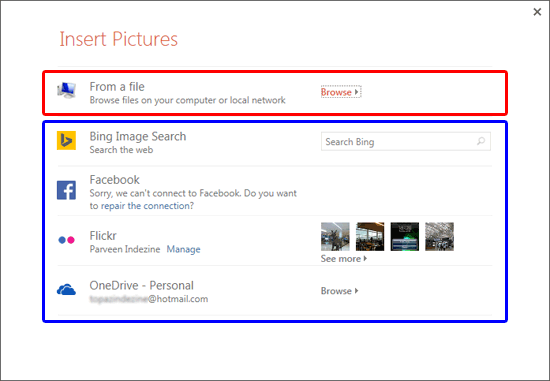
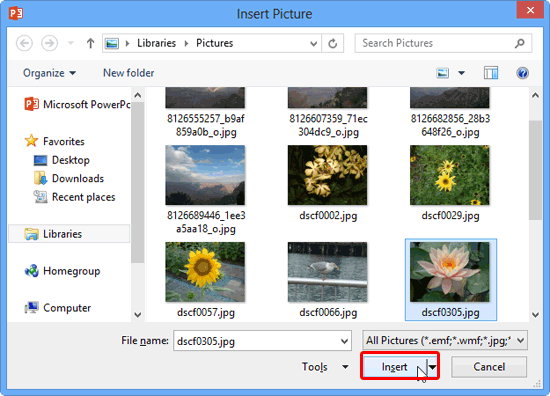
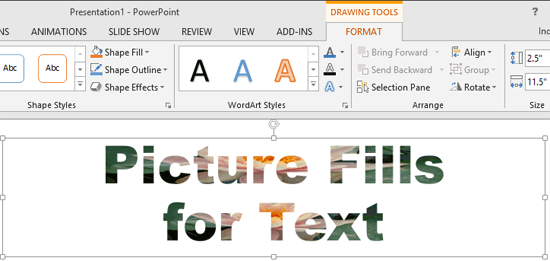
Follow these steps to add a picture fill to text in PowerPoint 2013 for Windows:
See Also:
Picture Fills for Text in PowerPoint 2011 for Mac
Picture Fills for Text in PowerPoint 2010 for Windows
You May Also Like: Presentation Management: Why Executives are Starting to Care? | Architecture PowerPoint Templates

Microsoft and the Office logo are trademarks or registered trademarks of Microsoft Corporation in the United States and/or other countries.