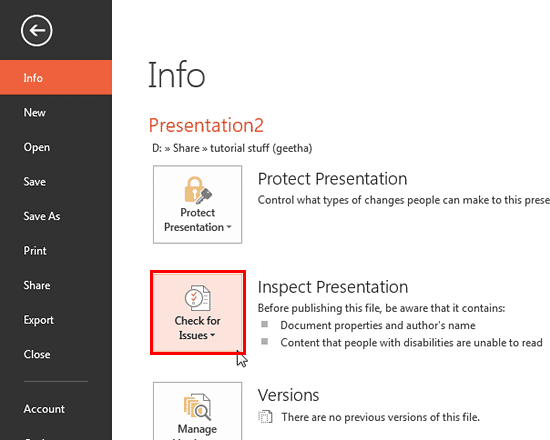
Check accessibility options available in PowerPoint 2013 for Windows. PowerPoint shows you a list of accessibility issues with fixes.
Author: Geetesh Bajaj
Product/Version: PowerPoint 2013 for Windows
OS: Microsoft Windows 7 and higher
An understanding has grown over the years to make all kinds of computer-generated content available to people with disabilities. PowerPoint is no stranger to this accessibility concept, and has many options up its sleeve that help your slides be more relevant to those with accessibility impairments.
PowerPoint's built-in Accessibility Checker works similar to the spell checker. It highlights potential accessibility issues in your presentation so that you can fix these potential problems and make your content accessible to everyone. Note that fixing some issues might require that you change, reformat or otherwise update your content. Moreover, the Accessibility Checker also lets you know about application features that you can use to make your content more accessible.
There might be issues that you choose not to fix, since your audience may not contain people with certain disabilities. In that case, you can treat some highlighted issues as informative, and act only on issues that you consider significant.
Follow these steps to explore the Check Accessibility option in PowerPoint 2013 for Windows:


For detailed explanations of issues that the Accessibility Checker highlights, see the Accessibility Checker Rules page on Microsoft's site. Also for a thorough understanding of accessibility issues, read Glenna Shaw's The Incredible, Accessible Presentation article.
16 01 02 - Prepare for Sharing: Check Accessibility in PowerPoint (Glossary Page)
Check Accessibility in PowerPoint 2016 for Windows
Check Accessibility in PowerPoint 2010 for Windows
You May Also Like: Presentation Procrastinators: 03 | Leonardo da Vinci PowerPoint Templates


Microsoft and the Office logo are trademarks or registered trademarks of Microsoft Corporation in the United States and/or other countries.