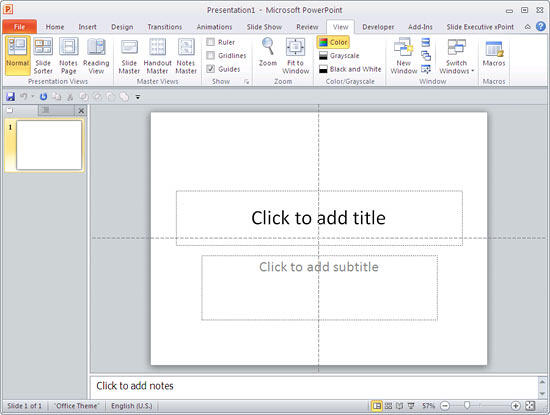
Learn about viewing and hiding Guides in PowerPoint 2010 for Windows. By default, guides are not visible.
Author: Geetesh Bajaj
Product/Version: PowerPoint 2010 for Windows
OS: Microsoft Windows XP and higher
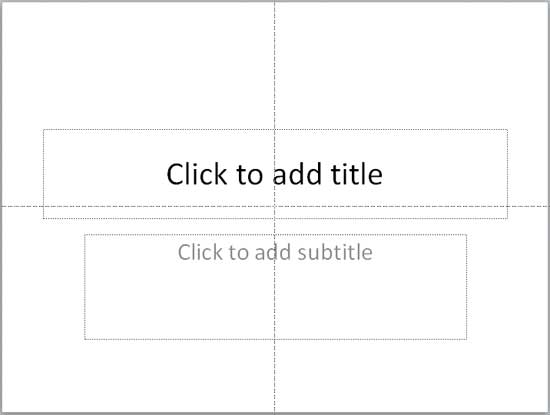
Like rulers and gridlines, guides in PowerPoint allow you to position and snap your slide objects in place. When you enable guides using the steps illustrated on this page, you see just two guides by default. These guides are two dotted lines, one horizontal and the other vertical. They span to intersect at the very center of the slide, as shown in Figure 1, below.

Figure 1: Guides on the PowerPoint slide
By default, these guides may not be visible on your slides. Making them visible though can help while working with positioning any of your slide objects. Also, if you need to position certain objects at the same position on successive slides, guides can be an amazing help. In successive tutorials, we will explore techniques that help working with guides, or even creating new guides.
In this tutorial, you will learn how to get started with guides by showing or hiding them in PowerPoint 2010 for Windows:


Do you want more keyboard shortcuts?
Explore our PowerPoint Keyboard Shortcuts and Sequences Ebook that is updated for all PowerPoint versions.

01 09 12 - Working with Slides: Guides in PowerPoint (Glossary Page)
Guides in PowerPoint 2016 for Windows
Guides in PowerPoint 2016 for Mac
Guides in PowerPoint 2013 for Windows
Guides in PowerPoint 2011 for Mac
You May Also Like: Presentation Industry Standards: Conversation with Simon Morton | Central America PowerPoint Templates


Microsoft and the Office logo are trademarks or registered trademarks of Microsoft Corporation in the United States and/or other countries.