You have already learned how to draw a parabola
in PowerPoint 2010 for Windows. In this tutorial, you will learn how to draw a hyperbola in PowerPoint using the drawing tools available
in PowerPoint 2010 for Windows. So what is a hyperbola—it is essentially composed of a smooth curve that is not too different
from a parabola, but this smooth curve also has a mirrored image of itself so that the finished shape looks like two infinite bows,
as shown in Figure 1.
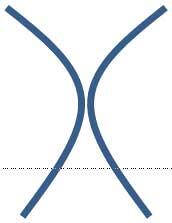
Figure 1: A hyperbola
To draw a hyperbola in PowerPoint 2010 for Windows, follow these steps:
- Launch PowerPoint 2010 for Windows. Most of the time PowerPoint will open with a new slide in a presentation.
PowerPoint users can change the slide layout to
Blank by selecting Home tab | Layout | Blank option.
- Within the View tab of the Ribbon,
select the Guides and Rulers check-boxes (highlighted in red in
Figure 2) if they are unchecked.
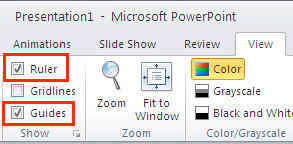
Figure 2: Ruler and Guides check-boxes selected- This will show the guides and
rulers on the
slide area, as shown in Figure 3.
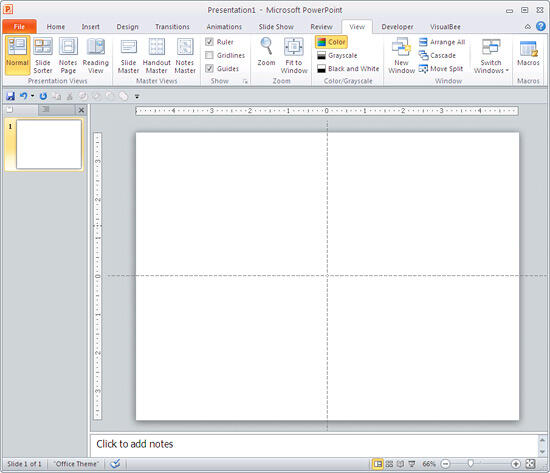
Figure 3: Guides and rulers showing on the slide- Add some more guides, we added four more horizontal
guides, and also four more vertical guides—all evenly spaced out from the original guides so that you see something similar to a
small grid (highlighted in red in Figure 4).
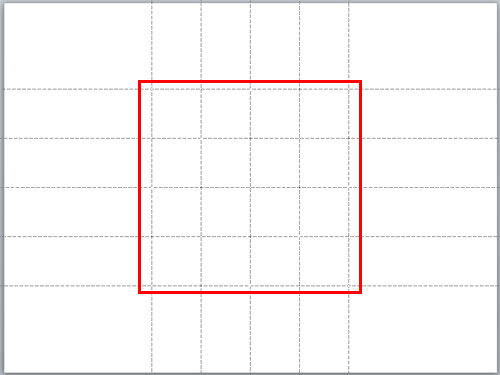
Figure 4: New guides created- Within the Home or Insert tab of the Ribbon, click the
Shapes button to view the Shapes gallery
that you can see in Figure 5. Select the Curve shape.
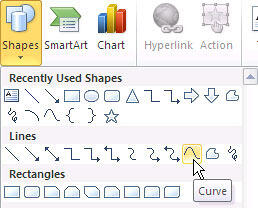
Figure 5: Curve selected in PowerPoint 2010- To establish the starting point of the first curve of your hyperbola, place the cursor and click on the top-left corner
of the imaginary grid, as shown highlighted in red, in Figure 6.
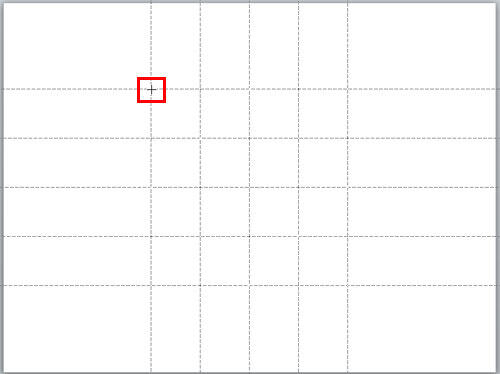
Figure 6: Starting point of the hyperbola established- Then hold down the left mouse button—don't release it yet, and drag the cursor towards the bottom-right till the
point where the second vertical guide intersects the third horizontal guide, as shown in Figure 7. Click once on
that point.
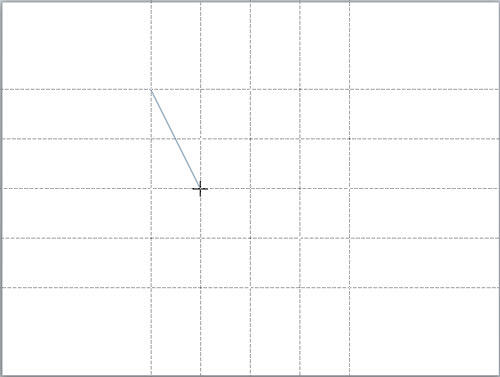
Figure 7: Drawing a curve- Now, drag the cursor towards the bottom-left side of the slide, towards the point where the first vertical guide
(same vertical where the starting point was established) intersects the last horizontal guide, to create an arc, as shown in
Figure 8.
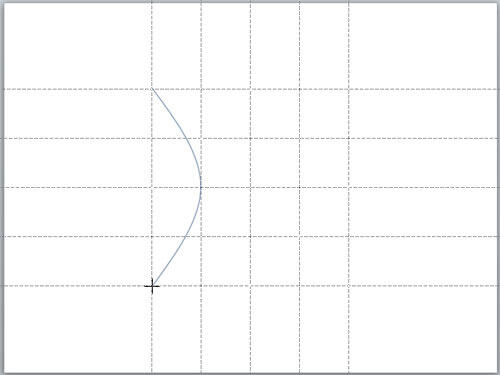
Figure 8: Arc is drawn- Double-click on that point to exit drawing mode. An arc will be created as shown in Figure 9, if the arc is not
selected (as denoted by the handles you see in Figure 9), then
select it.
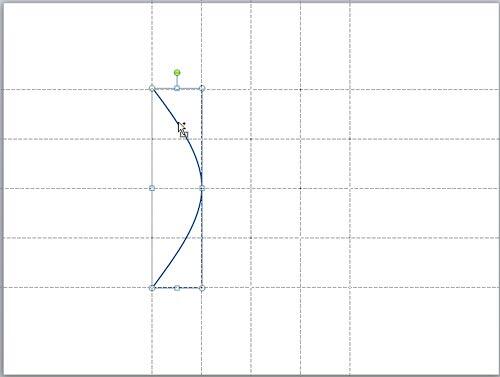
Figure 9: Arc selected- Place your cursor over the arc, press both Ctrl and Shift keys together,
the cursor will now have a plus sign (refer to Figure 9, above). Now, drag the arc towards the right to create a duplicated
copy which will be placed at the position where you stop dragging.
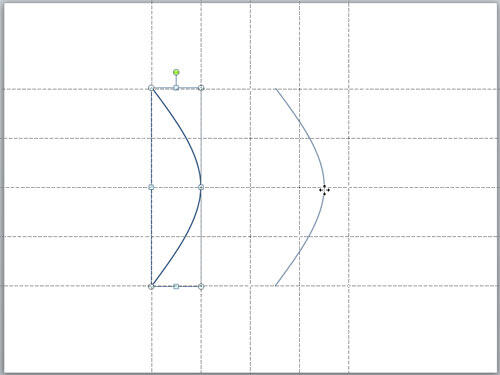
Figure 10: Arc being copied- Now, with the copied Arc selected, go to the Home tab of the
Ribbon, click the Arrange button to bring up a
drop-down gallery (refer to Figure 11, below). In this drop-down gallery, select the Rotate option.
From the sub-gallery that appears, select the Flip Horizontal option as shown in Figure 11.

Figure 11: Flip Horizontal option selected- This will flip the copied arc, to get something what you can see in Figure 12. Learn more about
Flipping shapes in PowerPoint 2010.

Figure 12: Copied arc flipped- At this point, your hyperbola is ready as shown in Figure 13. You can
nudge and move both curves of the hyperbola to bring them
closer to each other and also group them, and format their
fills and effects if required.
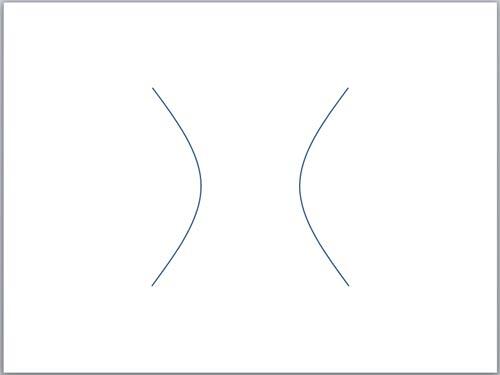
Figure 13: Hyperbola is drawn in PowerPoint- Save your presentation.


