The Freeform drawing tool lets you draw anything almost like drawing with a pencil on a piece of paper. In addition, you can
create straight lines as well. This dual capability of the Freeform tool provides you with more creative freedom. What's very important for you to
know though is that the Freeform tool takes a while getting used to—practice alone will make your attempts perfect!
Now follow these steps to draw with the Freeform line tool in PowerPoint 2013 for Windows:
- Launch PowerPoint 2013 for Windows. Most of the time PowerPoint will open with a new slide in a
presentation. You can change the slide layout to Blank by
selecting the Home tab | Layout | Blank option.
- Within the Home or Insert tab of the Ribbon,
click the Shapes button to view the Shapes drop-down gallery that you can see in Figure 1. Select the
Freeform shape (highlighted in red within Figure 1).
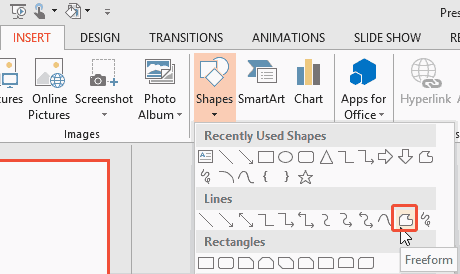
Figure 1: Freeform line tool selected- As soon as the Freeform line tool is selected, the cursor changes to a cross hair (see Figure 2).

Figure 2: Cross hair cursor- Click anywhere on the slide to establish the starting point. Release the mouse button and position the cursor elsewhere. Now click to draw a
straight line between the start and end points, as shown in Figure 3.
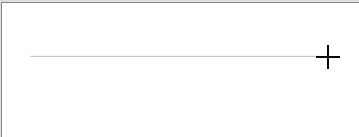
Figure 3: Straight line created with freeform
- Tip: Press the Shift key before you click elsewhere to draw lines in 45-degree
increments—this option will let you easily create complicated graphics (see Figure 4).
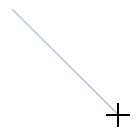
Figure 4: Shift key lets you constrain straight lines to 45 degree increments
- You can continue drawing (as if you are drawing with a pencil on a paper). While drawing, whenever you need to draw a straight line, release the
mouse button and simply drag the cursor and click again to establish the end point of the line (and the beginning of the freeform). You will end up with a combined
straight-lined and freeform shape, something like what you see in Figure 5.
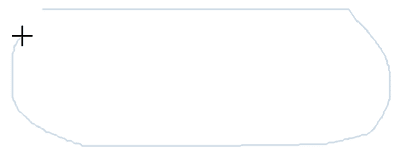
Figure 5: Shape being drawn with the Freeform line tool
Tip: You can alternate between straight and freeform lines within the same line shape that you draw.
- To finish your drawing as an open shape, just double-click the mouse (or press the Esc key) when you are done. If you want
to create a closed shape, click on the starting point of your drawing. The shape gets filled to denote that it has indeed been closed, and your shape will be surrounded
by eight handles indicating that it has been selected, as shown in
Figure 6.
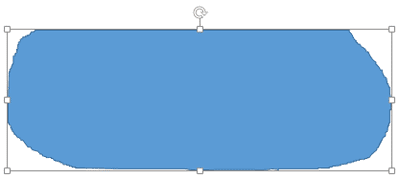
Figure 6: Freeform line as an open shape- Click anywhere on the slide to deselect the shape. Save the presentation.


