Learn how to reorder sections in PowerPoint 2013 for Windows. Using this technique, you can easily reorder a bunch of slides.
Author: Geetesh Bajaj
Product/Version: PowerPoint 2013 for Windows
OS: Microsoft Windows 7 and higher
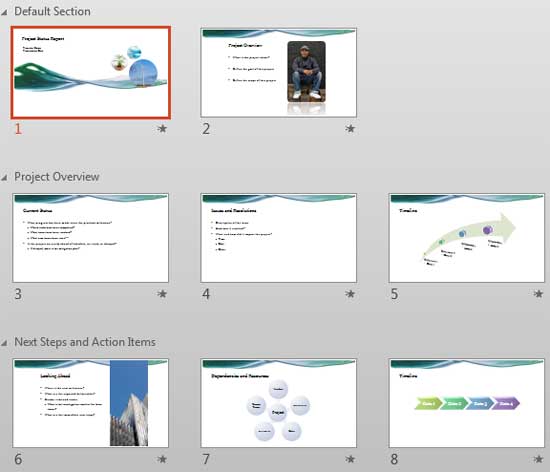
In PowerPoint, sections are not just for effective and easy management of your slides. They can also let you quickly reorder large blocks of adjacent slides. Place all slides you want to reorder within a single section, and then move that section along with all the slides that it contains.
In this tutorial, we'll show you how you can reorder sections within PowerPoint 2013 for Windows:
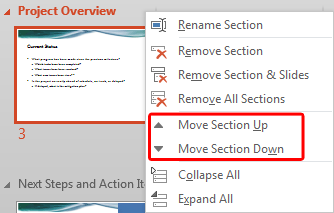
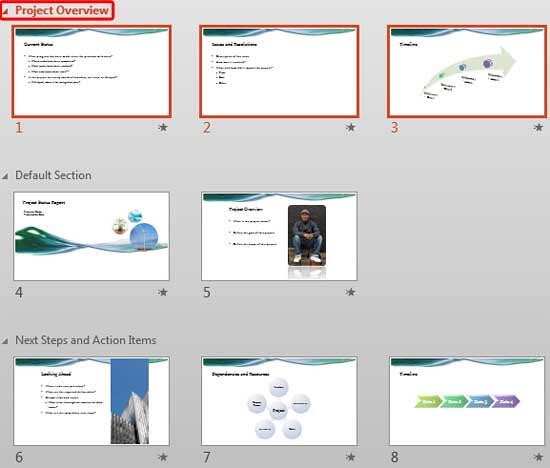
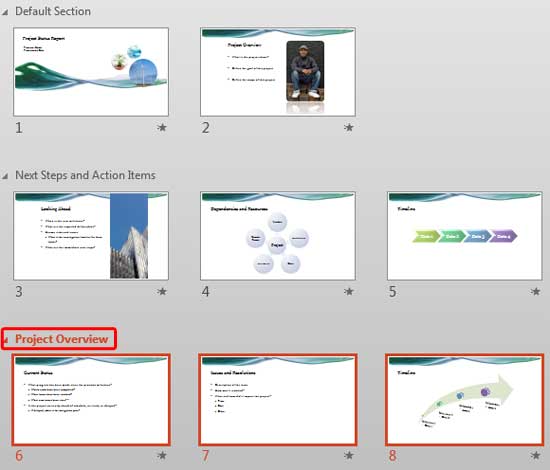
Options explained above will move the selected section only one level up or down. If you want to move the selected section to a position after or before non-adjacent sections, then you can use the drag and drop method explained below:
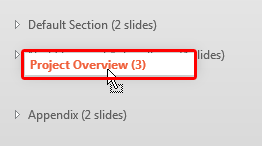
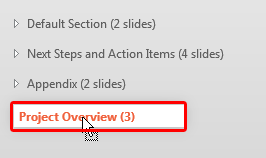
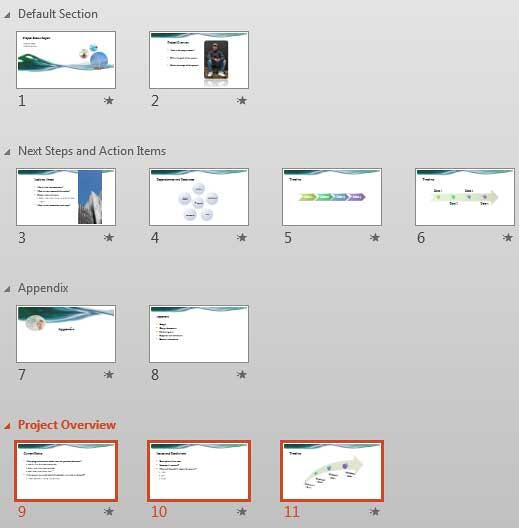
A more intuitive way to reorder sections, especially if your sections have many, many slides, is to first collapse your sections as explained in our Viewing Sections in PowerPoint 2013 tutorial so that you right away only see the section names without any slides, as shown in Figure 8, below. Then, you can drag the section names to reorder as required.
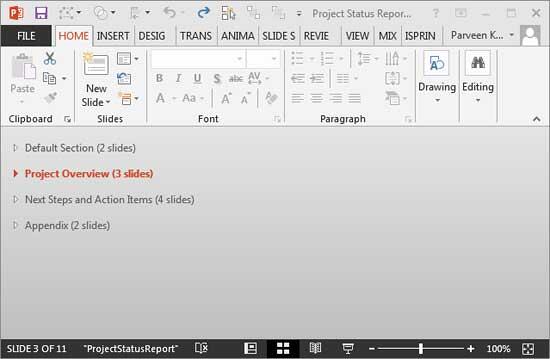
Figure 8: Collapsed sections are easier to reorder
01 12 05 - Sections: Reordering Sections in PowerPoint (Glossary Page)
Reordering Sections in PowerPoint 2016 for Windows
Reordering Sections in PowerPoint 2011 for Mac
Reordering Sections in PowerPoint 2010 for Windows
You May Also Like: Do You Buy Stock Photos for Clients? | Ethiopia Flags and Maps PowerPoint Templates


Microsoft and the Office logo are trademarks or registered trademarks of Microsoft Corporation in the United States and/or other countries.