Learn how to distribute shapes on a slide in PowerPoint 2013 for Windows. You can space out your shapes horizontally and vertically.
Author: Geetesh Bajaj
Product/Version: PowerPoint 2013 for Windows
OS: Microsoft Windows 7 and higher
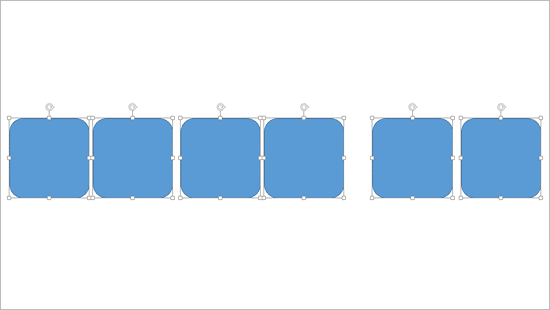
Placement of slide objects on your slide can make a big difference. And proper spacing in-between slide objects plays an important role in making your slides look aesthetic. This distribution of shapes brings symmetry to your slide content. Look at Figure 1, below, and you'll see that shapes towards the left are not distributed equally whereas shapes towards the right are comparatively better spaced out. Most of the time, distribution is used along with alignment. We already covered alignment in our Align Shapes in PowerPoint tutorial.

Figure 1: The benefits of distribution
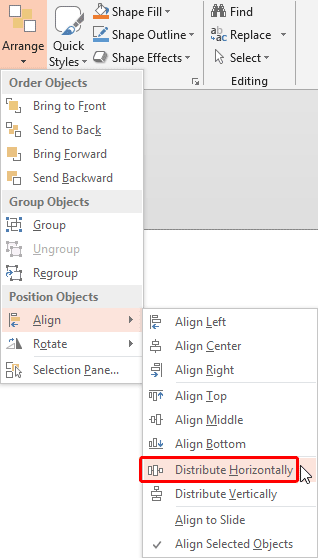
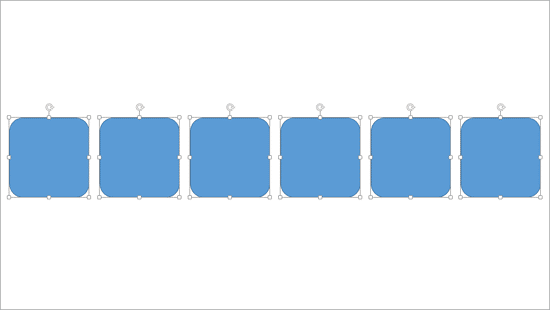
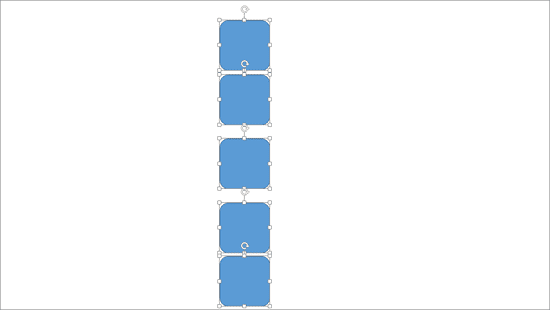
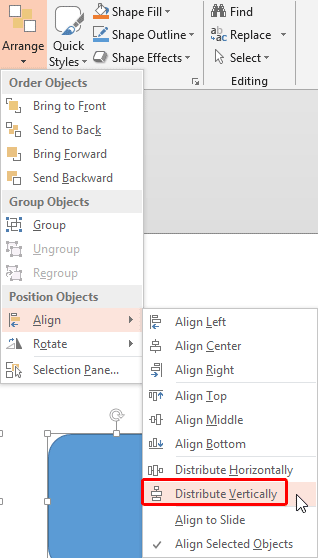
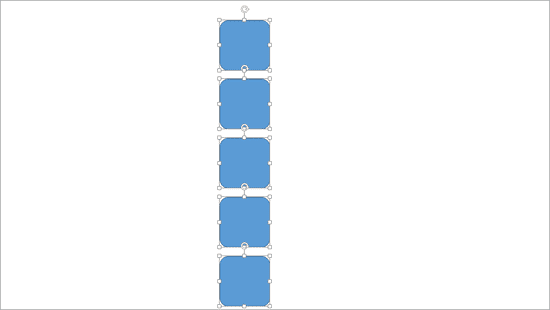
If you create many PowerPoint slides, it is very important to keep all your shapes well-positioned and spaced apart. In this tutorial, we'll look at how you can distribute shapes evenly. The Distribute option is a great way to position shapes equidistant from each other, either on a horizontal or vertical plane.
Follow these steps to distribute shapes evenly in PowerPoint 2013 for Windows:
06 05 03 - Aligning and Distributing Shapes: Distribute Shapes in PowerPoint (Glossary Page)
Distribute Shapes in PowerPoint 2011 for Mac
Distribute Shapes in PowerPoint 2010 for Windows
You May Also Like: Video for Communication: Conversation with Haydn Rushworth | Antelope PowerPoint Templates


Microsoft and the Office logo are trademarks or registered trademarks of Microsoft Corporation in the United States and/or other countries.