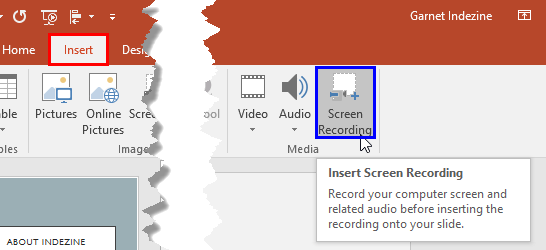
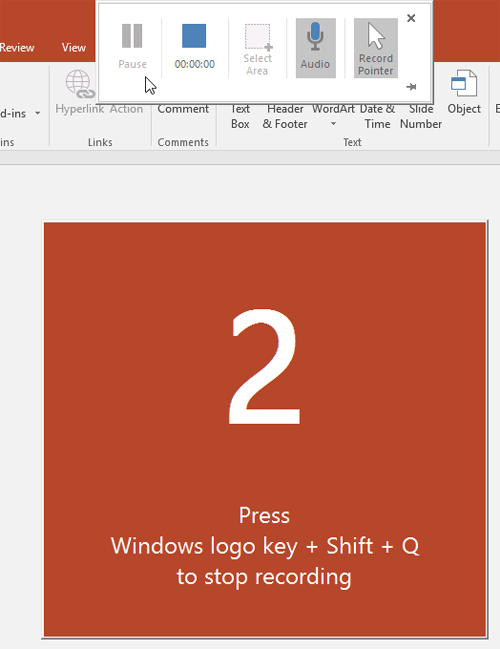
Learn about the screen recording option in PowerPoint 2016 for Windows. This recording is not limited to PowerPoint slides alone.
Author: Geetesh Bajaj
Product/Version: PowerPoint 2016 for Windows
OS: Microsoft Windows 7 and higher
Have you worked with the Screenshot option in previous versions such as PowerPoint 2010 and PowerPoint 2013? This option allowed you to add a screenshot from within PowerPoint. PowerPoint 2016 for Windows goes a step further with the new Screen Recording option that lets you similarly record a video clip of your onscreen activity, again from within the program.
Although Screen Recording is a new feature, you can also find it in PowerPoint 2013, provided you have installed all the recent updates! Learn more in our Screen Recording in PowerPoint 2013 for Windows tutorial.
Follow the steps to learn about the screen recording option in PowerPoint 2016 for Windows:


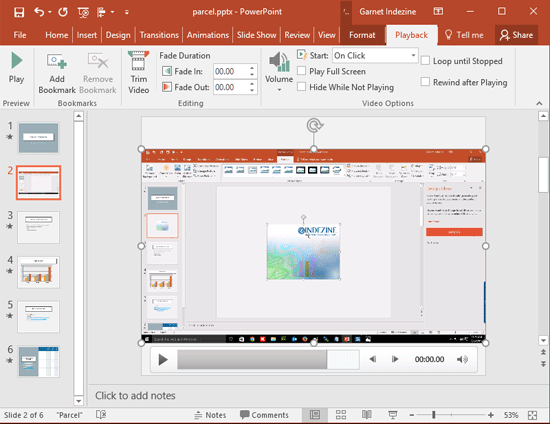
You can now apply all video editing options to this inserted video. Also, you can resize it as required.
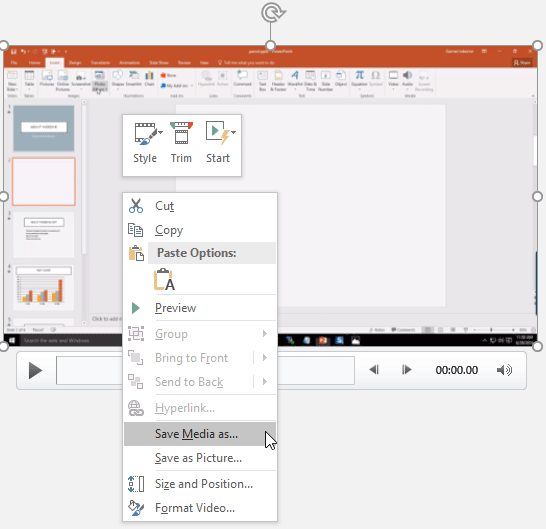
Additionally, you can export it as a separate MP4 file. To do so, right-click the inserted video and select the Save Media As option, as shown in Figure 5, below. Within the resultant Save Media As dialog box, provide a name for the exported video and save it in the required folder.

Figure 5: Save Media as option exports the screen recording to MP4 format
14 06 01 - Screen Recording: Screen Recording in PowerPoint (Glossary Page)
Screen Recording in PowerPoint 2013 for Windows
You May Also Like: think-cell 10: Now works on Office for Mac | Fall / Autumn PowerPoint Templates


Microsoft and the Office logo are trademarks or registered trademarks of Microsoft Corporation in the United States and/or other countries.