Loop audio clips to play across specific slides in PowerPoint 2016 for Windows. Using this technique, you can start and end your looping audio clip on specific slides.
Author: Geetesh Bajaj
Product/Version: PowerPoint 2016 for Windows
OS: Microsoft Windows 7 and higher
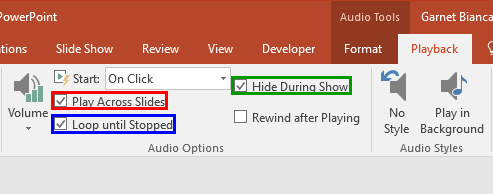
Once you add an audio track such as a music clip to your PowerPoint slides, you can let the inserted audio span across all your slides from the first one to the last by selecting the convenient Play Across Slides option.
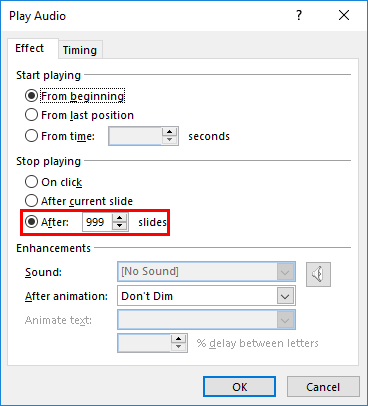
Yes, that's a great solution if you need the same music clip to be playing while looping on all your slides. However, in the real world, there will always be a need for something different. What if you want the music to play only across some successive slides? What if you want the music to play from slide numbers 2 to 8, and let all subsequent slides play without any music? Or you may want to add another audio clip for the next set of slides? Either way, it is possible to limit the number of slides that your music will play across.
As far as possible, work with a presentation that has been saved at least once. Also, do explore our PowerPoint Friendly Audio Formats page to understand which common and exotic audio file types you can insert in PowerPoint. And copy the sound clip you want to loop across slides to the same folder as the presentation.
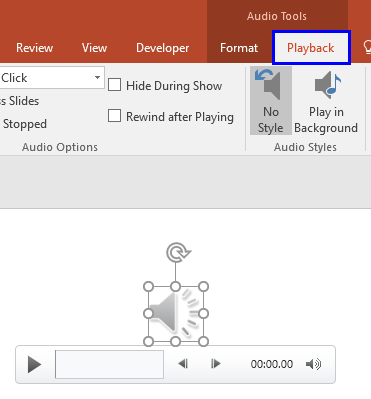
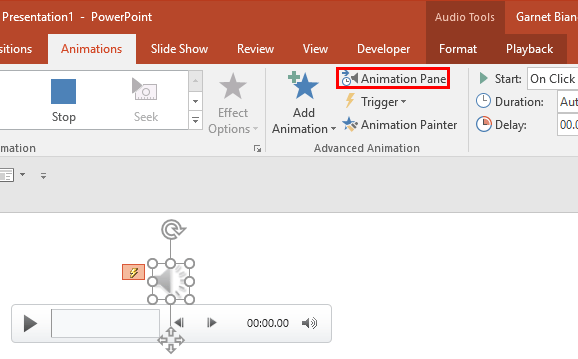
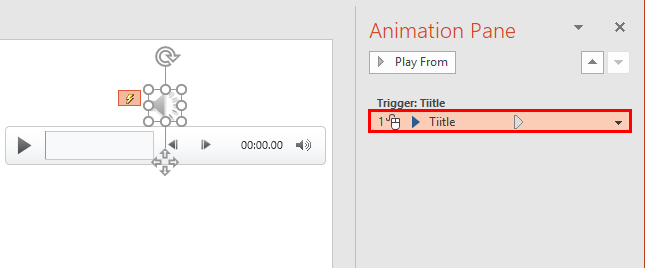
Follow these steps to play your audio clip across a specific sequence of slides in PowerPoint 2016 for Windows:
See Also:
Audio in PowerPoint - Basics: Sound Across Specific Slides (Glossary Page)
Sound Across Specific Slides in PowerPoint 365 for Windows
Sound Across Specific Slides in PowerPoint 365 for Mac
Sound Across Specific Slides in PowerPoint 2019 for Windows
Sound Across Specific Slides in PowerPoint 2019 for Mac
Sound Across Specific Slides in PowerPoint 2016 for Mac
Sound Across Specific Slides in PowerPoint 2013 for Windows
Sound Across Specific Slides in PowerPoint 2011 for Mac
Sound Across Specific Slides in PowerPoint 2010 for Windows
Sound Across Specific Slides in PowerPoint for the Web
You May Also Like: Presentation Procrastinators: 01 | Tartan PowerPoint Templates


Microsoft and the Office logo are trademarks or registered trademarks of Microsoft Corporation in the United States and/or other countries.