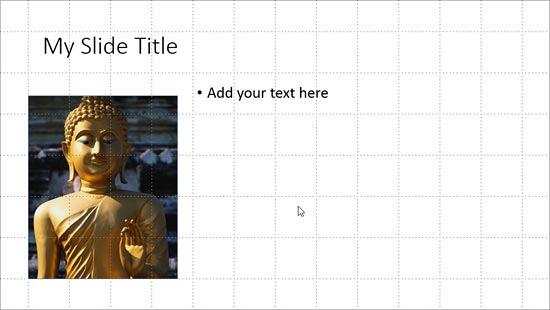
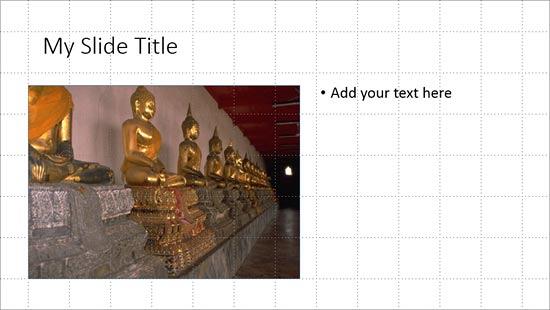
Learn to use the Snap to Grid option in PowerPoint 2013 for Windows. You can accurately position and move slide objects using this option.
Author: Geetesh Bajaj
Product/Version: PowerPoint 2013 for Windows
OS: Microsoft Windows 7 and higher
Making gridlines visible on your slides in PowerPoint is only a good idea if you use the Grid feature to attain some results. If you are serious about using Grids to position slide objects with more precision, you must first visit the options available for changing Grid settings. Once you have played around with the grid settings, you are better equipped and prepared to explore how the Snap to Grid feature can help you accurately position and move slide objects such as pictures, shapes, or anything else you can select and move on a slide!
Follow these steps to use the Snap to Grid option in PowerPoint 2013 for Windows:


We were able to position the bottom left of both rectangles on successive slides identically because we moved these shapes close to the gridlines, as soon as they were fairly close to the gridlines where we needed to position them, they just snapped! If we had turned off the Snap to Grid option, then the shapes would not have snapped to the grid so accurately.
01 09 12 - Working with Slides: Working with Snap to Grid in PowerPoint (Glossary Page)
Working with Snap to Grid in PowerPoint 2016 for Windows
Working with Snap to Grid in PowerPoint 2010 for Windows
You May Also Like: How to Create Custom PowerPoint Themes to Fit Your Brand | World Regions PowerPoint Templates


Microsoft and the Office logo are trademarks or registered trademarks of Microsoft Corporation in the United States and/or other countries.