Apply slide background fill to shapes in PowerPoint 2007 for Windows. Using the Slide Background fill can help create amazing effects you may have not considered possible.
Author: Geetesh Bajaj
Product/Version: PowerPoint 2007 for Windows
OS: Microsoft Windows XP and higher
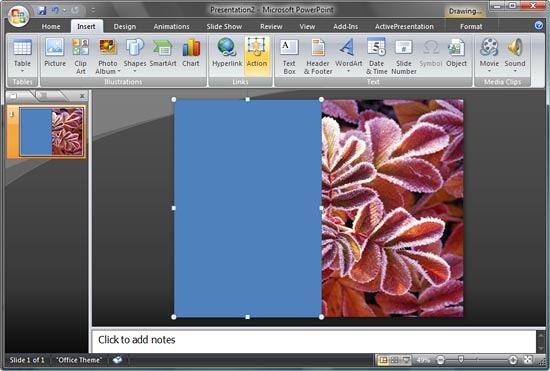
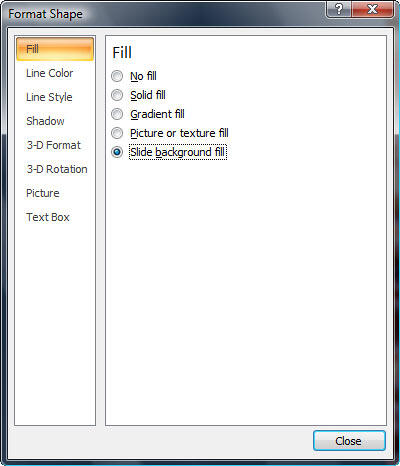
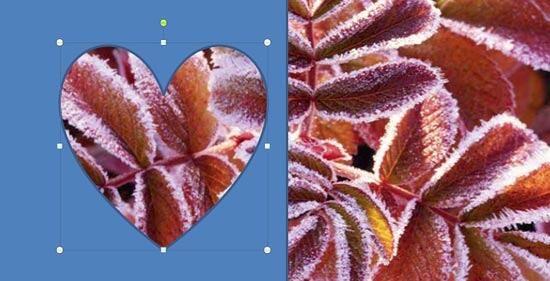
You have already learned how to add different fills for shapes. As you have seen in those shape fill tutorials, the Shape Fill gallery displays only 4 fill options: solid fill, picture fill, gradient fill, and texture fill. There is one more shape fill option, the Slide Background fill which you can't access from Shape Fill gallery. The Slide Background fill option is different from other shape fill options because instead of filling something into the selected shape, it makes the slide background area behind the shape visible into the selected shape.
So why would you want a shape filled with the same content as your background? Typically you would not want to use this option unless you have another shape or slide object placed between your slide background and the shape that is filled with the slide background, read this page further to understand this better. You may also want to see how PowerPoint MVP Glen Millar uses the Slide Background fill in animation, he calls it False Backgrounds, and we have an Indezine exclusive conversation with him at False Backgrounds: Conversation with Glen Millar.
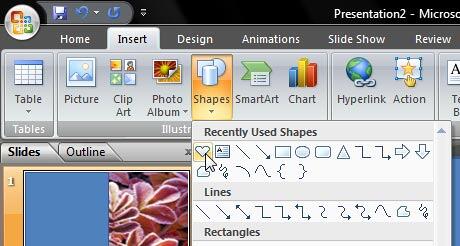
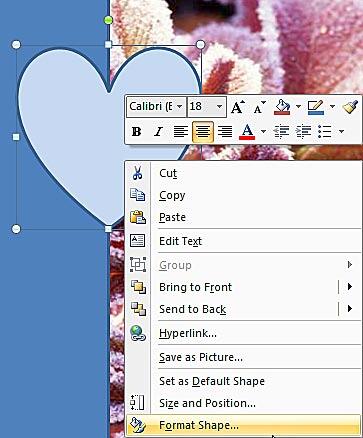
Follow these steps to add the Slide Background fill to a shape:

See Also:
Fills for Shapes: Add Slide Background Fill to Shapes (Glossary Page)
Add Slide Background Fill to Shapes in PowerPoint 2016 for Windows
Add Slide Background Fill to Shapes in PowerPoint 2016 for Mac
Add Slide Background Fill to Shapes in PowerPoint 2013 for Windows
Add Slide Background Fill to Shapes in PowerPoint 2011 for Mac
Add Slide Background Fill to Shapes in PowerPoint 2010 for Windows
You May Also Like: Upgrade from Writing to Digital Signage | Goat PowerPoint Templates


Microsoft and the Office logo are trademarks or registered trademarks of Microsoft Corporation in the United States and/or other countries.