Introduction
3D Invigorator is a Photoshop-compatible plug-in that allows you to create 3D objects within Photoshop using Adobe Illustrator files and fonts. With 3D Invigorator, you can easily model 3D objects, create 3D logos based on the vector files, and add depth, bevel, and other 3D features, and apply multiple lights and materials such as reflective, transparent, or bump textures to the object for more realistic output. You can do this all without using any other application, such as 3D Studio Max or similar.
3D Invigorator is from Digital Anarchy, a company based in San Francisco, USA that specializes in special effect filters for image editing and video programs. Digital Anarchy also creates other Photoshop-compatible plug-ins like Primatte Chromakey 3, ToonIt!, Backdrop Designer, etc. Digital Anarchy markets 3D Invigorator for Zaxwerks.
You can download a free trial version of 3D Invigorator from the Digital Anarchy site.
My contact at Digital Anarchy for this review was Debbie Rich. Thank you, Debbie.
Back
How To Use
Follow these steps to use 3D Invigorator:
- Open a new document in an image editor such as Adobe Photoshop.
- Choose the Filter | Zaxwerks | 3D Invigorator option, as shown in Figure 1, below.

Figure 1: 3D Invigorator - The first time you open 3D Invigorator, you will see a start-up window appears with some options, as shown in Figure 2, below.

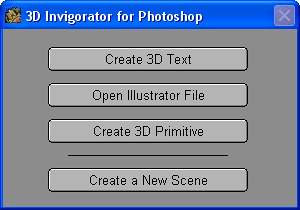
Figure 2: 3D Invigorator for Photoshop - From the 3D Invigorator for Photoshop window choose Create 3D Text, as shown in Figure 2, above. The other options are explained below:
Open Illustrator File
- With this option, you can open any Adobe Illustrator file in 3D Invigorator, and convert it to a 3D object.
Create 3D Primitive
- With this option you can create spheres, cubes, cylinders, pyramids, cones and planes.
Create a New Scene
- This option opens the 3D Invigorator interface.
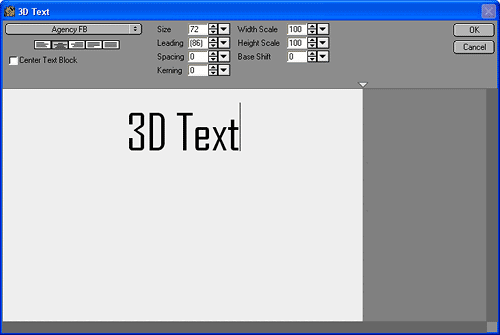
- Doing so opens the 3D Text window, as shown in Figure 3, below. Here, you can type the text message in the text input box, and customize the text properties. Once done, click the OK button.

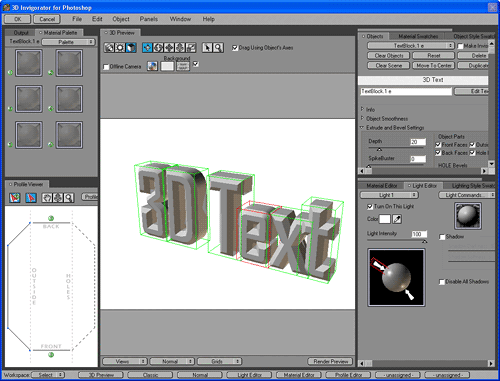
Figure 3: 3D Text - This action opens 3D Invigorator interface with the text inserted, as shown in Figure 4, below.

Figure 4: 3D Invigorator interface - The interface is divided into three parts: the left side is where you'll find output options and a profile viewer, the middle area is the work area and the right side of the interface has panes through which you can apply materials and lighting to the object.
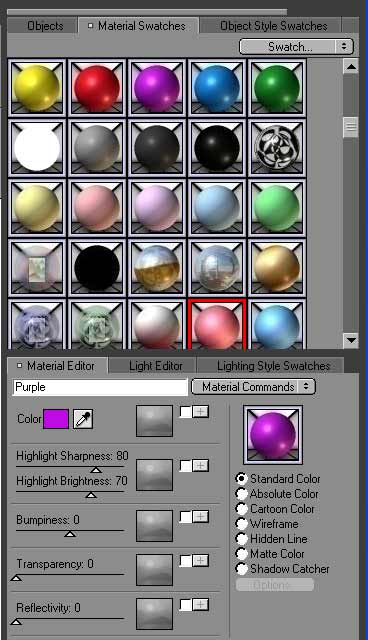
- Now, from the right side of the interface you can apply default material from the Material Swatches palette. There are over a hundred different material presets in this palette, such as gold, chrome, glass, lacquer, and puffy surfaces. If these presets don’t provide the desired effect, you can customize your own materials. Within the Lighting Style Swatches palette, shown in Figure 5, below, even lighting styles can be customized.

Figure 5: Options Applying from Swatches
- To apply materials from the Material Swatches, just drag any swatch and drop it on the object.
- In the work area of 3D Invigorator interface, there are options with which you can customize the size, placing and rotation of the object.
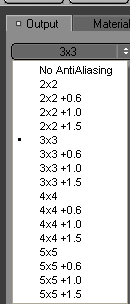
- When done, from the left side of the interface in output tab choose the output sharpness ratio, as shown in Figure 6, below.

Figure 6: Output sharpness
Save or Save As
Choose the File | Save Scene As option to save the work, so you can make changes in future.
Back
Specifications
| Photoshop Versions: |
CS2 and higher |
| Platforms: |
Windows, Mac |
| Site: |
Digital Anarchy |
| Price: |
USD $199 |
| Trial Version: |
Available |
Back
