Stamps are a great feature in Techsmith Snagit that allows you to annotate and mark certain areas of a screenshot so that you can describe it in detail elsewhere. Check out Indezine's stamp tutorial for Snagit here.
Several stamps are included with Snagit and Techsmith also provides more from their website. However, some people are never happy with the default offerings, They like to see how they can customize a feature and get it to do more. That's exactly what we were thinking about when we decided to create our own set of stamps for Snagit. In this tutorial, we'll show how you can create these stamps within Adobe Photoshop. If you are using a different image editor, the concepts will remain the same.
Before we proceed further, do remember that stamps in Snagit are just a series of PNG files with transparency. Open the folder where your copy of Snagit is installed and you'll find a Stamps folder. Inside the Stamps folder, you will find other folders that contain a large collection of individual PNG stamps.
Are Snagit Stamps PNG Only?
Snagit allows you to create stamps in formats other than PNG, but PNG does work best.
Here's how you can create Snagit stamps in Adobe Photoshop:
- Create a new document in Photoshop. Choose the File | New option and select the size of the document. Since stamps are typically small, 50 by 50 pixels is a good size to start with. Once you experiment, you might want to use other sizes. Remember to set the background of your Photoshop file as transparent.
- Draw any shape. We drew a circle and applied a style from the Styles palette, as shown in Figure 1, below.

Figure 1: A circle with a style applied
No Drop Shadow
- Make sure that you don't apply a drop shadow in any of the styles within Photoshop since Snagit has its own drop shadow option.
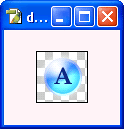
- Once this basic shape is created, type the first alphabet. "A" on a different layer and format the text color and size as required, as shown in Figure 2, below.

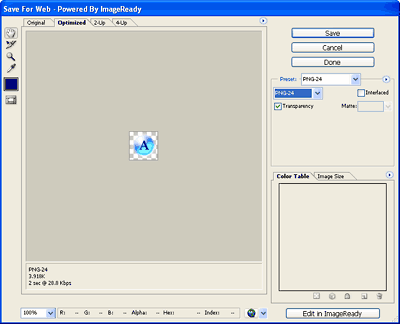
Figure 2: A circle with alphabet applied- Save this image as a PNG graphic. Choose File | Save for Web. Doing so will bring up the Save for Web dialog box, as shown in Figure 3, below.

Figure 3: Photoshop's Save for Web dialog box- In the File Format drop down menu, select PNG-24 and make sure you place a check in the Transparency box. Click the Save button to create a new PNG file. This will save the graphic and bring you back to Photoshop.
- Activate the text layer in Photoshop, and edit "A" to become "B". Using the same process explained earlier, save it as a PNG. Repeat the same method for all the alphabets.
- Place all the these PNG graphics in a folder. If you want to use the same graphics that we created, you can download them here.
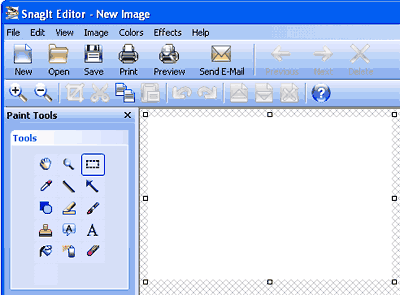
- Next, launch Snagit, and choose File | Open. Open any graphic you have, or just click the Cancel button in the Open dialog box and Snagit will still open with a default white graphic inside Snagit Editor, as shown in Figure 4, below.

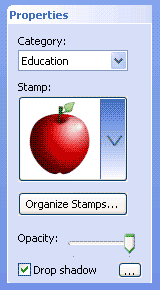
Figure 4: Snagit Editor- Click the Stamp tool under the Tools section. Doing so will change the Properties panel to show Stamps properties, as shown in Figure 5, below. Click the Organize Stamps button.

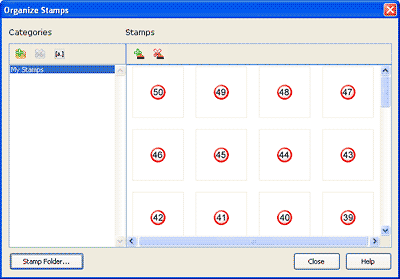
Figure 5: Stamp tool properties- Doing so brings up the Organize Stamps dialog box, as shown in Figure 6, below. If Snagit doesn't ask you for a default stamp location, you can set it up by clicking the Stamp Folder button and choosing a folder.

Figure 6: Organize your Snagit Stamps- Click the Plus icon on the top left to create a new stamp category, as shown in Figure 7, below.

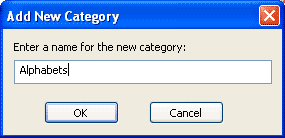
Figure 7: Add Category- Give a name to your new category in the resultant Add New Category box, and click the OK button, as shown in Figure 8, below.

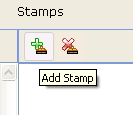
Figure 8: Name your category- Click the Plus icon under Stamps to add your stamps that you created in Photoshop earlier, as shown in Figure 9, below.

Figure 9: Add your stamps- Within the resultant dialog box, choose all PNGs and click the Open button. Click the Close button to get back to Snagit Editor.
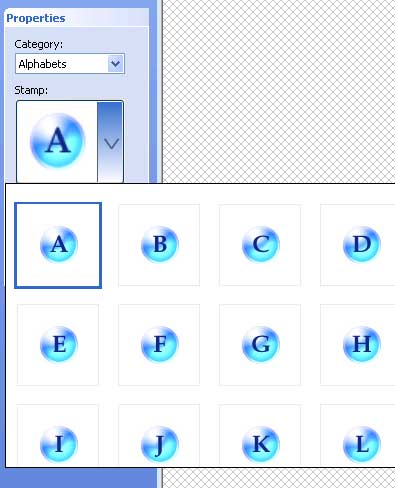
- Now, your stamps are part of Snagit, and you can use them like any other stamps that were part of the Snagit installation, as shown in Figure 10, below.

Figure 10: Your own Snagit stamps!
To learn how you can use these stamps, look here.
Thanks to Betsy Weber of Techsmith for coordinating with me for this tutorial.
Creating Snagit Stamps without Photoshop
Snagit itself has basic image editing capabilities--and if you don't have access to Adobe Photoshop or some image editor, you can make great stamps within Snagit too!

