Stop Press: The Office.com site no longer provides access to clip media. So, the techniques on this page will no longer work. We are retaining this page as a historical reference of what was possible in the past.
There is no dearth of sites providing royalty-free pictures that can be used in your PowerPoint presentations. However, none of these provide the breadth of choices that you can find at the Microsoft Office site (Office.com). Even better, all these pictures are free to all licensed users of Microsoft Office programs such as PowerPoint. Office.com allows you to download various types of clip media, including pictures:
- Clip art: These are vector drawings, often also known as illustrations, line drawings, clip art, etc.
- Photos: These are the photographs clicked with cameras, or in some cases these could be bitmap graphics. PowerPoint typically calls these types of graphics pictures.
- Animations: These are small animated GIFs.
- Sounds: Small and medium length sound and music clips.
Follow these steps to download clip media from Office.com using Apple Safari:
- Launch the Microsoft Office site in your browser, as shown in Figure 1, below. From the tabs on this page, choose the Images tab (highlighted in red within Figure 1, below).
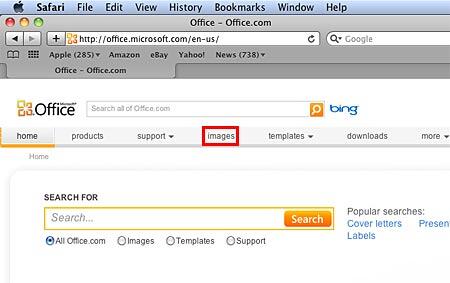
Figure 1: Images tab within the Microsoft Office home page Note: Since Office.com is a web site and not an application, there might be changes in how the layout is organized—and also the tabs shown may change.
- Within the Images tab, you can first select the type of clip media you want to search for, using the check-boxes provided (highlighted in red within Figure 2, below). This is a great option in case you want to search for only a particular type of clip media, since you can uncheck all other check-boxes. By default, the All check-box is selected to enable the search for all types of clip media as you can see in Figure 2, below.
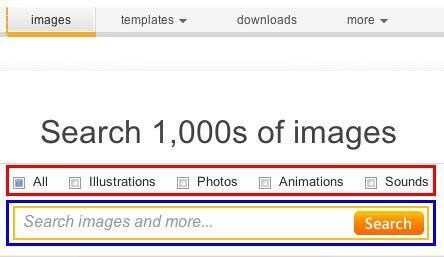
Figure 2: Search box and file types check-boxes within Images tab - Now, type in the keyword (or keywords) you are looking for within the Search box (highlighted in blue within Figure 2, above). Thereafter, click the Search button, or hit the Enter/Return key on your keyboard.
- Based on the keywords and the type of media you limit your search to, you'll see Search results, as shown in Figure 3, below.
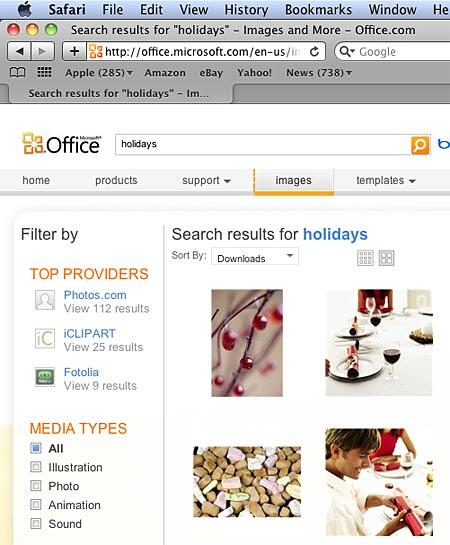
Figure 3: Clip media search results for the entered keywords - In the Search results gallery, place your cursor over any of the thumbnails to bring up a Rollover option, as shown highlighted in red within Figure 4, below. Note that there is a Download link within the Rollover.
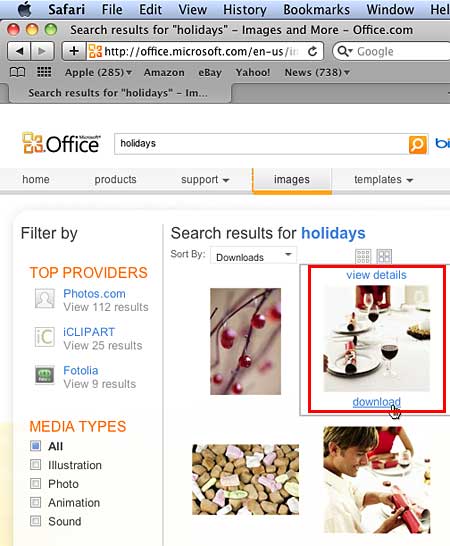
Figure 4: Selected thumbnail shows download link - Click the Download link to bring up the Downloads dialog box, as shown in Figure 5, below. As soon as the dialog box opens, the download starts automatically. Thereafter, you can find the downloaded clip media within your computer's default Download folder.
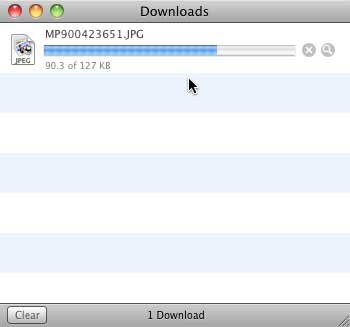
Figure 5: Downloading the selected clip media - Once the download is over, the clip media file opens in Macintosh default image view application Preview, as shown in Figure 6, below. If your default image view application is not Preview, then the downloaded clip will open in the application which is set as default image view other than Preview.

Figure 6: Downloaded clip media opened in Preview image viewer


