First of all, PowerPoint 2013 or any of the previous versions do not
support text highlighting. And before we explore getting over this limitation, let's ask ourselves why do we need to highlight a
text? If you want to emphasize some important words within your slide, then the highlighting may indeed help. However, unlike
Microsoft Word, PowerPoint doesn't have a ready-made tool to highlight text, but you can use Word's highlighting options as a
workaround!
Follow these steps to learn how to highlight a text within
PowerPoint 2013 for Windows:
- Select the text on your slide, as shown in
Figure 1, below. Thereafter copy (Ctrl + C) the selected text to the Clipboard.
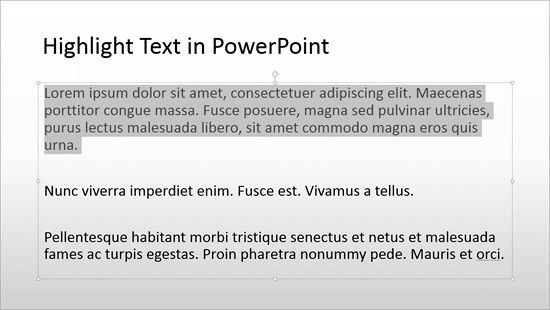
Figure 1: Text selected on the slide
- Now, launch Word and create a new document. Then, paste (Ctrl + V) the
copied content within this document. Once you paste, you will see that the Paste Options icon appears, as shown highlighted in
red within Figure 2.
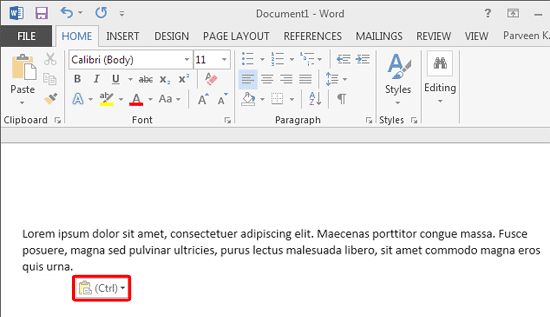
Figure 2: Paste Options icon
- Now immediately press the Ctrl key, or click the Paste Options button. Either action will
bring up the Paste Options drop-down menu, as shown in Figure 3, below. Here select the
Keep Source Formatting option (highlighted in red within Figure 3)
to retain the text formatting from the source PowerPoint slide.
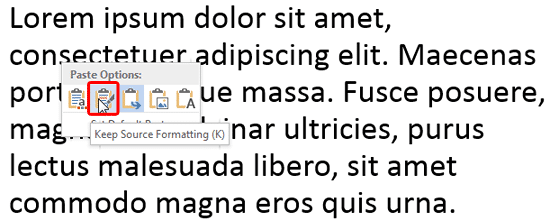
Figure 3: Keep Source Formatting option
- Within Word, now select the pasted text. Then access the Home tab of the Ribbon, and click the
Text Highlight Color button (highlighted in red within Figure 4).
Note that the text is now highlighted in yellow (refer to Figure 4, again).
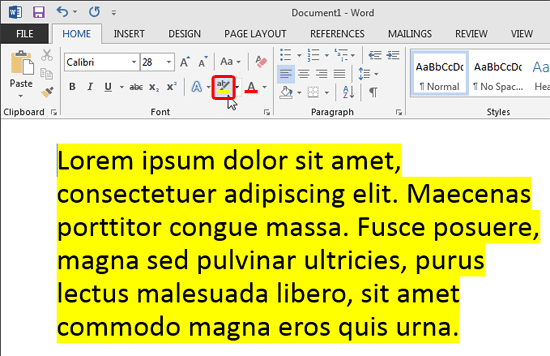
Figure 4: Text highlighted
- Do note that you can choose more highlight colors too. To do so, click the downward pointing arrow next to the
Text Highlight Color button to bring up the drop-down menu that you see in Figure 5, below.
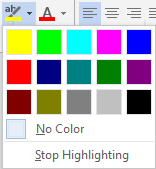
Figure 5: Text Highlight Color drop-down menu
More About Highlighting in Microsoft Word 2013
We recommend that you select the text first in Word, and then choose a highlight color. Alternatively, Word lets you choose a
highlight color even when no text is selected. If you do so, the cursor changes to the highlighter icon, as shown highlighted in
red within
Figure 6, below.

Figure 6: The highlighter icon cursor
- Now you can highlight text almost as if you were using a conventional highlighter pen with a piece of paper or a book.
You can highlight contiguous or non-contiguous areas of text now. The latter is shown in Figure 7 below.

Figure 7: Highlight non-contiguous areas of text
- Now copy (Ctrl + C) all text back to the Clipboard. Paste
(Ctrl + V) within your
PowerPoint slide. Once you paste, you will see that the Paste Options icon appears. Now immediately press the
Ctrl key, or click the Paste Options button. Either action will bring up the
Paste Options drop-down menu, as shown in Figure 8, below. Here select the
Keep Source Formatting option (highlighted in red within
Figure 8) to retain the text formatting from the source Word document.

Figure 8: Select Keep Source Formatting option
- In Figure 9, below you can see that the highlighted text copied back to PowerPoint. Notice that we pasted
text that had both contiguous or non-contiguous areas of highlighted text.
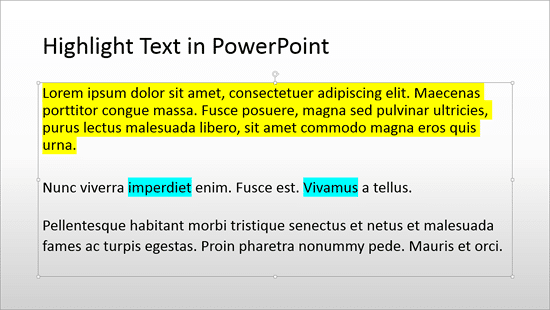
Figure 9: Both contiguous and non-contiguous areas of highlighted text copied back to PowerPoint
- Once done, you can copy the highlighting to other text without having to use Word again. You can also remove the highlight
altogether right within PowerPoint. Both procedures are explained in our
Copy and Remove Highlighting for
Text in PowerPoint 2013 tutorial.
- Save your presentation often.


