Learn how you can subtract shapes in PowerPoint 2016 for Windows. The Shape Subtract command retains the first selected shape and subtracts overlapping areas of other shapes.
Author: Geetesh Bajaj
Product/Version: PowerPoint 2016 for Windows
OS: Microsoft Windows 7 and higher
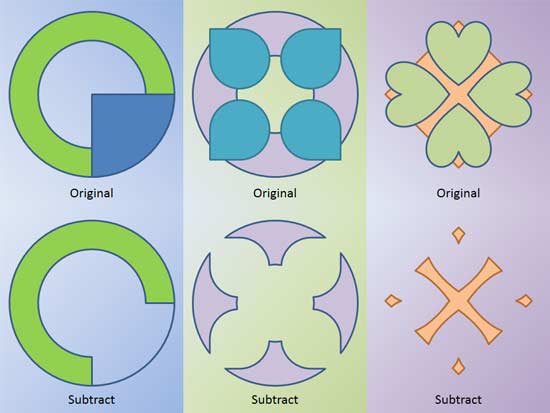
PowerPoint 2016 for Windows lets you change the appearance of merged shapes. Don't get fooled by how easy-to-use this is because the results you can end up with can be seriously impressive. In all, there are 5 options that let you merge shapes, and we have already explored 4 of them. In this tutorial, we'll show you how you can use the Subtract option to subtract one shape (or even multiple shapes), from the first selected shape. You can see examples of the Subtract option in play within Figure 1, below. The three examples on the top area of the slide are separate shapes placed over each other. The shapes that you see at the bottom of the slide are the same shapes with the Subtract option applied—resulting in a single, cutout shape.

Figure 1: Sample showing use of the Subtract command
Once you finish reading this tutorial, do view the sample presentations embedded at the bottom of this page to see more samples of shapes that use the Subtract command.
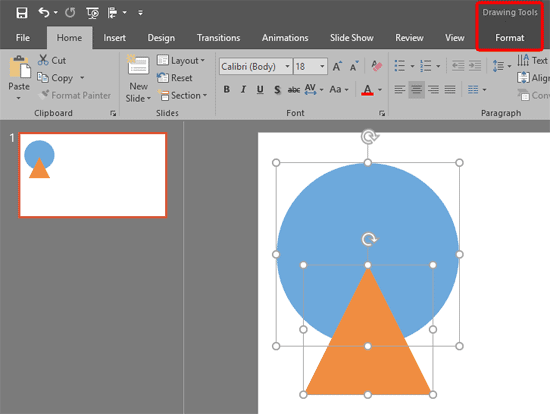
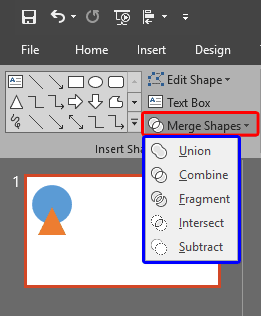
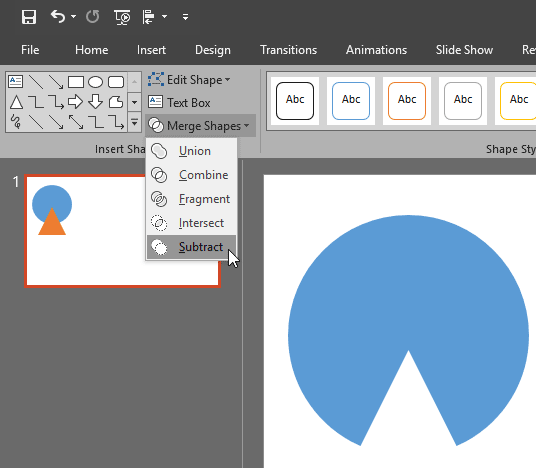
The Subtract command is one of Merge Shape commands in PowerPoint 2016 for Windows. Follow these steps to learn more:


Do remember these guidelines for any tasks that involve the usage of this command. The Subtract command:
You will see these guidelines in use within the embedded presentations below (scroll down this page).
The sample presentations below show how we used different shapes placed next to and above each other, and then subtracted.
Click below to view this presentation on SlideShare
Click below to view this presentation on YouTube
See Also:
Merge Shapes: Shape Subtract Command in PowerPoint (Index Page)
Shape Subtract Command in PowerPoint 2016 for MacYou May Also Like: How to Make Long-Lasting Change | Africa PowerPoint Templates


Microsoft and the Office logo are trademarks or registered trademarks of Microsoft Corporation in the United States and/or other countries.