Learn how to space out objects equally in PowerPoint 2013 for Windows. We explore using PowerPoint’s Smart Guides feature for this spacing.
Author: Geetesh Bajaj
Product/Version: PowerPoint 2013 for Windows
OS: Microsoft Windows 7 and higher
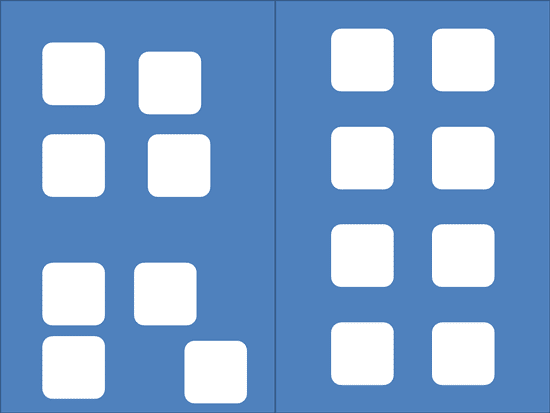
With many objects, your slide may end up looking crowded, and that's certainly something you do not want to happen. At times though, your slide may appear cluttered even if you really do not have too many objects, and this can happen because the objects are not spaced out well in relation to each other. To understand this better, look at Figure 1, below. The slide is divided into two halves. You'll notice that the shapes on the left and right are exactly the same. In fact, they are also the same number of shapes. Yet the shapes in the left half look crowded and cluttered while the ones on the right half look arranged and composed. That's because the shapes on the right are well-spaced.

Figure 1: Proper spacing can make a difference
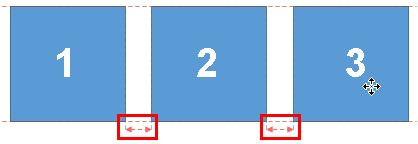
You obviously want your slide objects to be properly spaced. In older versions of PowerPoint, you could achieve proper spacing with the help of Align and Distribute options, and these options are still available. However, you can now space your objects merely by dragging them around in PowerPoint, with the help of Smart Guides. We do cover a bit of this in our Smarter Guides in PowerPoint 2013 tutorial.
When you are working with multiple objects on your slides, Smart Guides automatically appear and display when objects are being dragged.
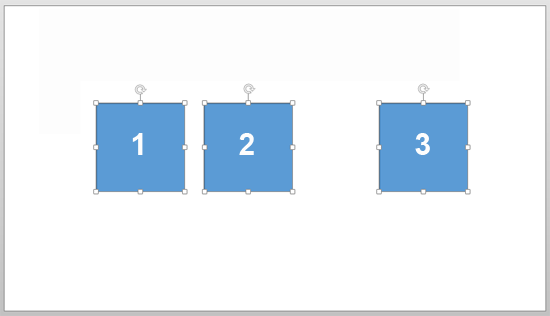
Follow these steps to learn how you can space slide objects using Smart Guides in PowerPoint 2013 for Windows:


This sort of control over spacing lets you evenly place your slide objects on a slide very intuitively.
06 05 04 - Aligning and Distributing Shapes: Space Objects Equally in PowerPoint (Glossary Page)
You May Also Like: How to Give Your Best Pitch via Video | Banking PowerPoint Templates


Microsoft and the Office logo are trademarks or registered trademarks of Microsoft Corporation in the United States and/or other countries.