Learn how to add a OneDrive account in Office Mobile.
Author: Geetesh Bajaj
Product/Version: PowerPoint
Content on this page is not recent and has been retained for historical reasons.
Some screenshots in this tutorial may show SkyDrive rather than OneDrive, and that's OK because SkyDrive is the older name for OneDrive.
We already showed you how you can navigate within a PowerPoint presentation within Office Mobile for iOS. Now, let us explore how you can open and save presentations saved in your OneDrive account.
When you sign in using your Office 365 account credentials, you immediately get access to all the files stored on the cloud for that particular Office 365 account. However, you may have a different OneDrive account too where you share or store your PowerPoint files. To access any of these files, you need to add what Office Mobile calls a "place". A place is a location, typically another OneDrive account that Office Mobile can connect to.
If you have a Microsoft account (Hotmail, Xbox, Outlook, Zune, Live, etc.), then, you already have a OneDrive account.
Follow these steps to add a OneDrive account to your Office Mobile:
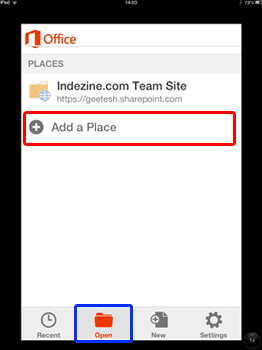
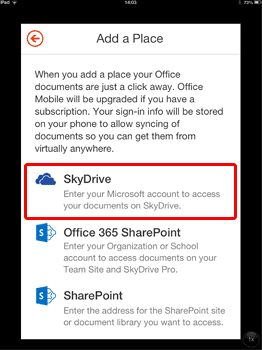
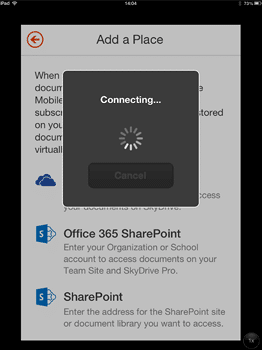
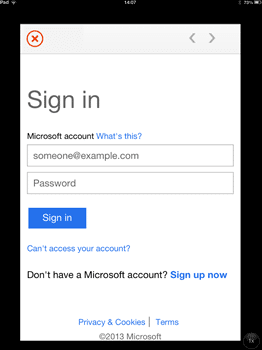


All listed places work like folders on your computer. You can even open a presentation from one place and save it to another. For any of this to work, you need to be connected online all the time.
You May Also Like: Baby Shower PowerPoint Templates | Presentation Management is Better Content Management


Microsoft and the Office logo are trademarks or registered trademarks of Microsoft Corporation in the United States and/or other countries.