PowerPoint provides umpteen Themes that can be applied to enhance the look of your slides. However, you'll soon get tired of all the ready-made Themes and their associated Background Styles because not only is everyone using the same Themes, but most of these verge on the geometric rather than organic look. The key is to make your slides appear "handmade" so that they stand apart. This tutorial leads you steps to change a plain background into something that's more personal.
To proceed with the rest of this tutorial, you'll need a full slide textured background to achieve the organic, handmade look. We have provided several such backgrounds for you to download and use.
Follow these steps to learn more in PowerPoint:
- Open any presentation which you want to convert into a organic looking presentation. Figure 1, below, shows our sample presentation opened in Slide Sorter view. Note that this is a very simple set of slides.
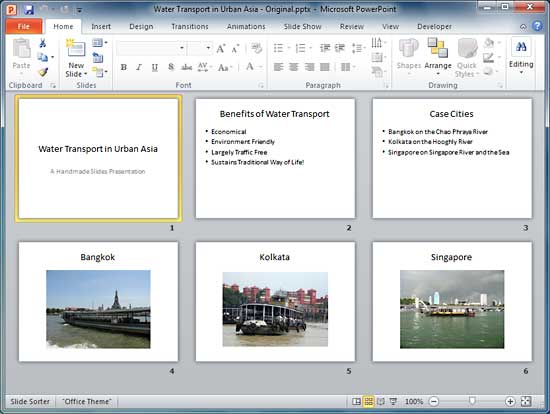
Figure 1: Presentation in Slide Sorter view- Now, access the Slide Master view in PowerPoint. You'll notice that the actual Slide Master is the larger thumbnail in the pane located on the left, as shown highlighted in red within Figure 2, below. The smaller thumbnails below the Slide Master are individual Slide Layouts. For this tutorial, you need not worry about them. As you can see in Figure 2, the large active slide highlighted in blue is the Slide Master. We will make all edits within this slide.
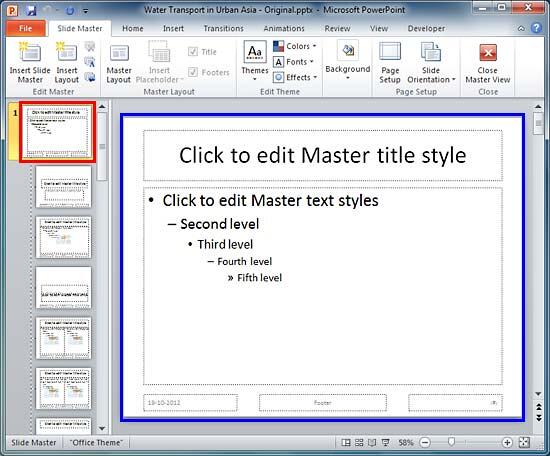
Figure 2: Slide Master selected within Slide Master view- Access the Insert tab of the Ribbon, as shown in Figure 3, below. Click the Shapes button, as shown highlighted in red within Figure 3, to bring up the Shapes gallery and choose the Rectangle shape. Now, drag and draw a Rectangle shape to cover the entire slide area, as shown in Figure 3.
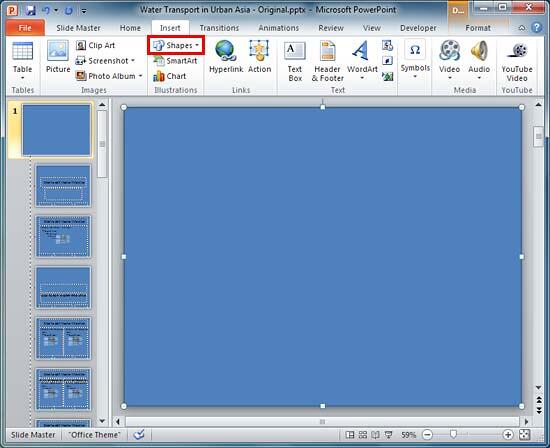
Figure 3: Rectangle drawn to cover the entire slide area- Select the Rectangle and remove its outline altogether (set to No Outline). Also, send the Rectangle shape back so you can see the content of the Slide Master, as shown in Figure 4, below.
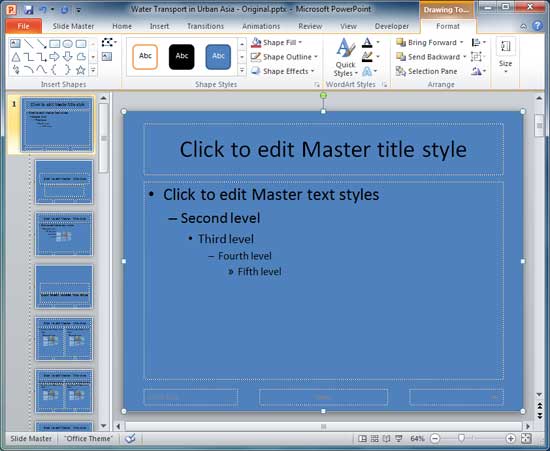
Figure 4: Rectangle shape sent to back- With the Rectangle still selected, apply a picture fill to the shape, and use any of our full slide texture backgrounds. Figure 5, below, shows the entire Rectangle shape filled with a picture. Notice that this picture adds a great texture but it also seems to bring in some extra noise. Also white, the actual color of the slide background, as shown in Figure 2, previously on this page, is altogether lost.
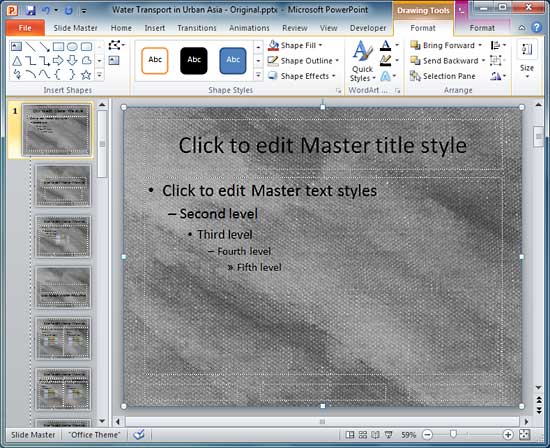
Figure 5: Picture filled within Rectangle shape- We now reduce the picture fill's transparency value to 80%. Look at our Advanced Picture Fill Options tutorial to learn how you can change a picture fill's transparency value. After reducing the transparency value, your rectangle should look something, as shown in Figure 6, below. Notice that you can now clearly see both the slide background color (white) and the textured picture.
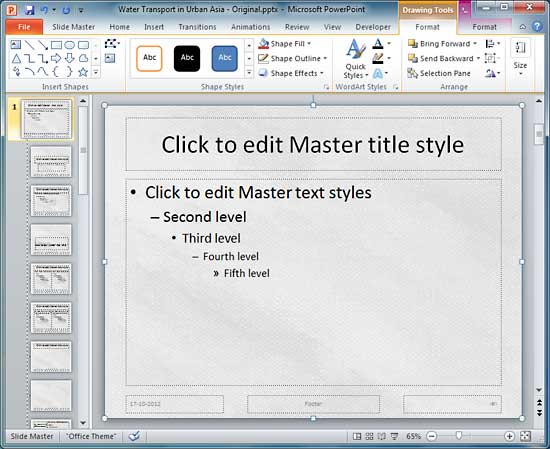
Figure 6: Picture fill transparency reduced to 80%- Now close the Slide Master view and access Normal view. Once you are in Normal view, access the Design tab of the Ribbon. Locate the Background group and click the Background Styles button to bring up a drop-down gallery, as shown in Figure 7, below. Choose any of Background style as required and click it to apply it to the slides. Notice that while the color changes, the texture is still retained.
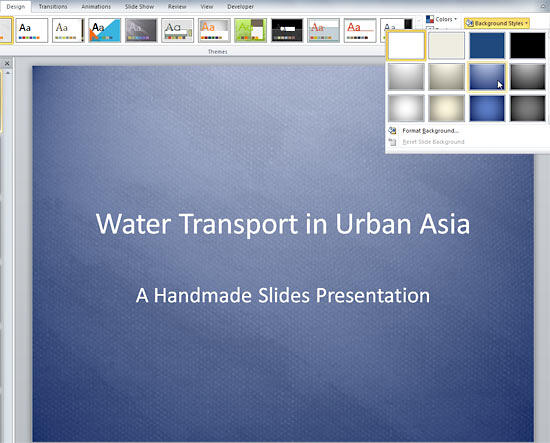
Figure 7: Background Styles drop-down gallery- Compare Figures 8 and 1 to see the difference after adding the transparent texture background to your slides.
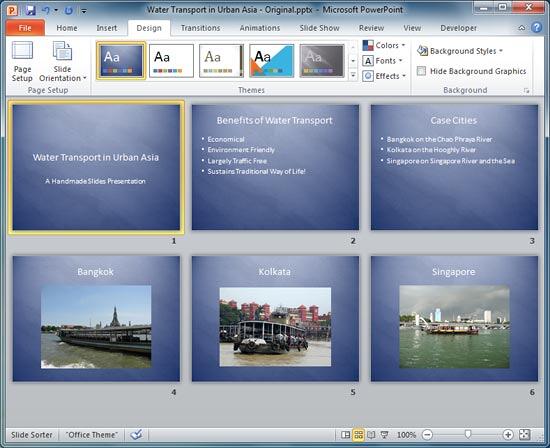
Figure 8: Slides with transparent texture background added- Save your presentation often.


