Learn how to animate a series of headshots. This is a very useful technique for an opening slide sequence.
Author:Geetesh Bajaj
Product/Version: PowerPoint
First, take a look at this embedded presentation below.
You can download a copy of this presentation from our Presentation Bank.
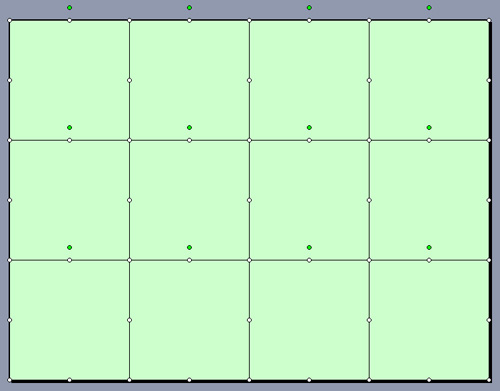
You can see that a series of headshot pictures are animated in sequence to create an effective collage slide that can function as the starting slide
for a presentation for a relevant subject suited for this type of an opening. You can also use the same technique for product shots or vacation
pictures. Just substitute the headshots with the other pictures!
So how was this created? Follow these steps:
First, we collected a bunch of pictures and resized/cropped them into squares in an image editing program. We used
Adobe Photoshop, but you can use almost any image editor.
Tip: We sourced all these images from
Microsoft's Office Online
site, where tons of free clip art and pictures are available to Microsoft Office users.
Thereafter, we placed square shapes on the slide. These were laid in a grid of 4 x 3 squares (12 squares in all) on the slide, as shown in
Figure 1 below. Do note that this is a Standard 4:3 aspect ratio slide. If you are using a Widescreen 16:9 or any other aspect ratio
slide, your shapes may be sized differently, and may not even be perfect squares.
Figure 1: Square shapes laid in a grid of 4 x 3 on the slide
Tip: To draw square shapes, choose the Rectangle shape tool, and press the Ctrl key while drag-drawing to restrain the rectangle to a
square. Learn more in our Drawing a Perfect Square in PowerPoint
tutorials.
Right-click any of these squares, choose the Format Shape (or Format Autoshape)
option to bring up a dialog box of the same name. Add a picture fill, and choose one of
the pictures you have assembled to fill the square.
Repeat the steps for all the squares.
Add an entry animation to these squares. For the first set, we used
Wipe animations and alternated between the four Wipe variants:
From Left
From Right
From Bottom
From Top
For the second set, we used the Split animations and alternated between four variants for this style:
Horizontal In
Horizontal Out
Vertical In
Vertical Out
Set all animations to play After Previous (see
Animation Events), and set their speed to
Fast.
Preview the presentation, and save.
Jigsaw Graphics for PowerPoint
Here are 10 jigsaw graphics containing different shapes. These graphics are available in both black and white and are contained within separate sample presentations that you download. Additionally, these jigsaw graphics are vector shapes, so you can easily edit them within your Microsoft Office program by changing fills, lines, and effects or even applying Shape Styles.