Learn how to slice and animate pictures in PowerPoint. This technique lets you achieve a unique synergistic effect.
Author: Geetesh Bajaj
Product/Version: PowerPoint
OS: Microsoft Windows and Mac OS X
You can crop pictures in PowerPoint, and of course you can animate them. But as you may observe frequently in life, synergy yields results that exceed the mere sum of two or more initiatives. And that's true in a way for the technique we will explore on this page, we call this Slice and Animate. The two techniques being used for this synergy are cropping pictures and adding animation.
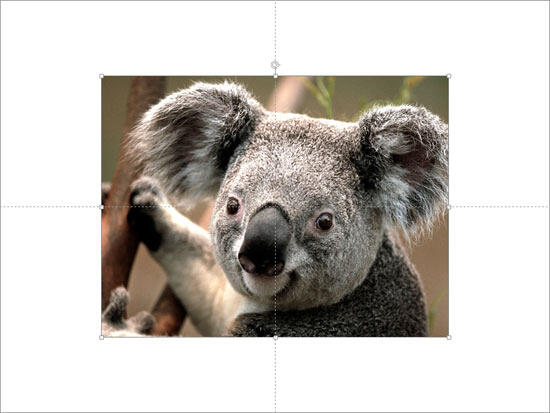
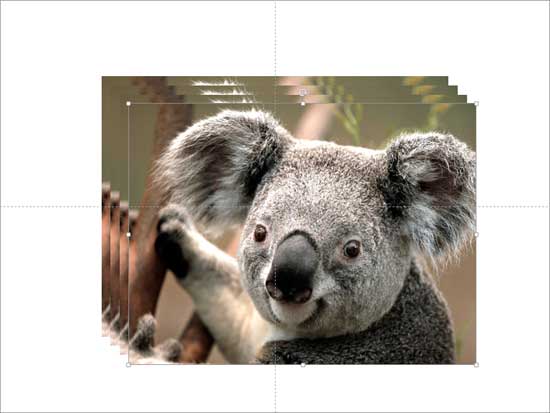
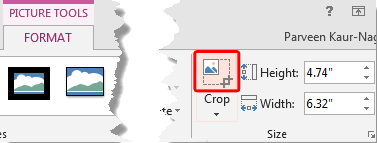
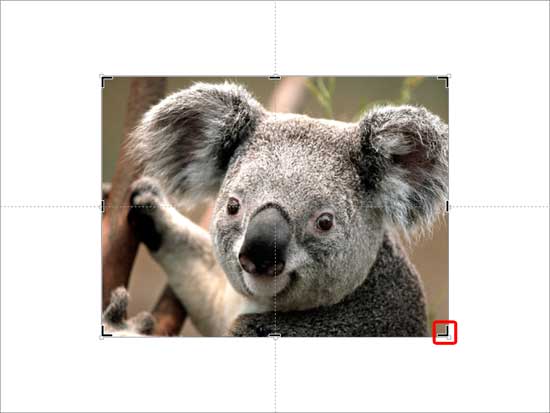
Follow these steps to slice and animate pictures in PowerPoint:


Do you want more keyboard shortcuts?
Explore our PowerPoint Keyboard Shortcuts and Sequences Ebook that is updated for all PowerPoint versions.
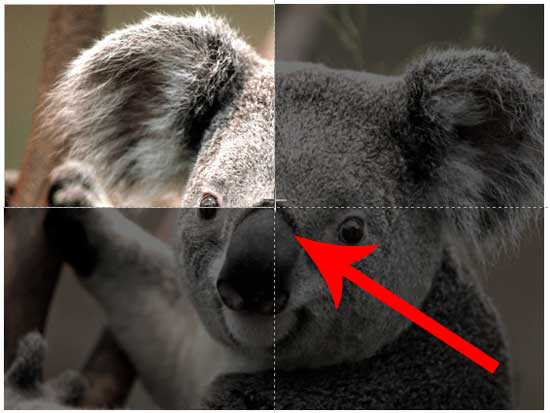
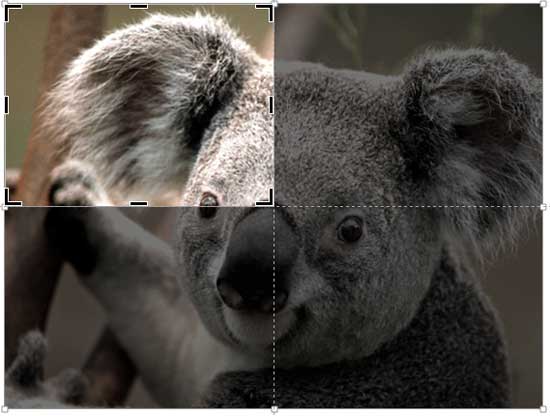
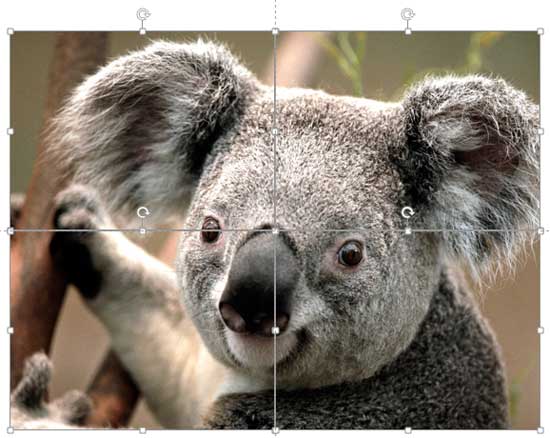

Want to slide a picture into quarters without having to do it all manually?
It's easy if you use some VBA code provided by Jamie Garroch. Find it on his Quartering Pictures in PowerPoint with a macro page. Don't know how to use VBA code? Explore our VBA Scripts in PowerPoint page.
Click below to view on YouTube
13 03 12 - Advanced Animation Concepts: Slice and Animate Pictures in PowerPoint (Glossary Page)
You May Also Like: How to Develop a Service Ethos That Will Enhance Your Career | Party PowerPoint Templates


Microsoft and the Office logo are trademarks or registered trademarks of Microsoft Corporation in the United States and/or other countries.