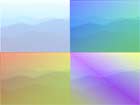
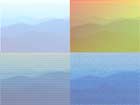
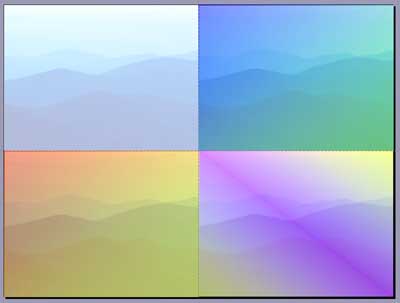
Have you ever wanted to fill a picture with a gradient - or another picture in PowerPoint? Have you wanted to blend two pictures in PowerPoint to create a montage? More importantly, have you been frustrated running images between Photoshop and PowerPoint to achieve some simple effects like the ones shown below?


Figure 1: Sample transparent montages in PowerPoint.
Here's an easy trick that might prevent you from using Photoshop for basic color effects. However, this works only with PowerPoint 2002 and 2003.
- In a new or existing presentation, add a new slide. This can be done by choosing the Insert | New Slide option. Now, choose Format | Slide Layout and make sure that you choose the Blank slide layout from the Slide Layout task pane.
- If the Drawing toolbar is not visible, choose the View | Toolbars | Drawing option to make it visible. The Drawing toolbar typically lives at the bottom of the PowerPoint interface unless you moved it around.
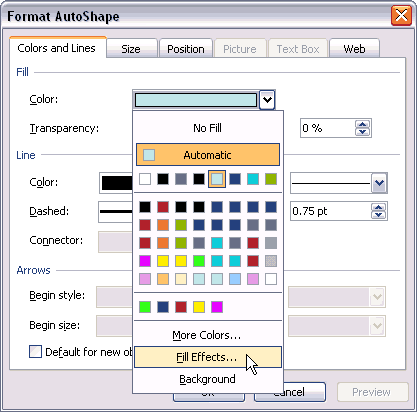
- Select the rectangle icon on the Drawing toolbar. Drag and draw your rectangle on the slide area. Now double-click this rectangle shape to summon the Format AutoShape dialog box, as shown in Figure 2, below.

Figure 2: The Format AutoShape dialog box. - Select the Color and Lines tab of this dialog box and click the downward pointing arrow next to the Color option in the Fill area to open a flyout menu. In the Flyout menu, choose the Fill Effects option. Doing so brings up the multi-tabbed Fill Effects dialog box, as shown in Figure 3, below.

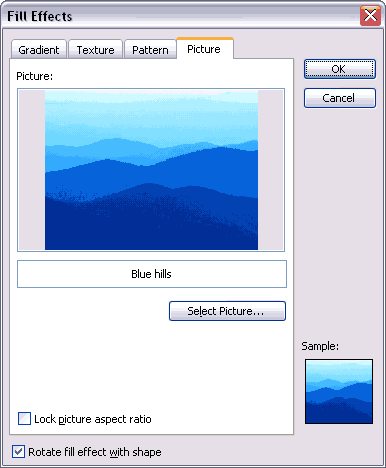
Figure 3: The Fill Effects dialog box. - Select the Picture tab and click the Select Picture button. This typically opens the default My Pictures folder - most of the time, you'll see a Sample Pictures sub-folder within this folder - just open that and choose the Blue Hills picture. Of course, you can choose any other picture on your system to follow the rest of this tutorial. Click Insert to get back to the Fill Effects dialog box, and then click OK to get back to the original Format AutoShape dialog box.
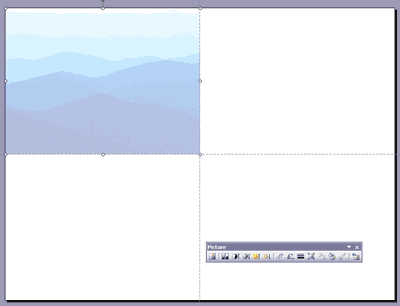
- Back in the Format AutoShape dialog box, click the downward pointing arrow next to the Color option in the Line area - and choose the No Line option in the resultant flyout menu. Right above that option, in the Fill area, change the Transparency to around 70%. Click OK to get back to your slide. Now, is a good time to resize your rectangle - I filled in mine to cover around a quarter of the slide area, as shown in Figure 4, below.

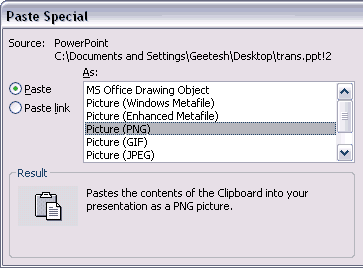
Figure 4: My picture-in-the rectangle covers a quarter of the screen. - Now, for the fun part! Just select your shape (and the filled-in picture) and choose Edit | Cut to place it on the clipboard. Then, choose Edit | Paste Special to bring up the Paste Special dialog box, as shown in Figure 5. below. Choose the Picture (PNG) option and click the OK button to paste your picture back into PowerPoint.
- You might be thinking that was no big deal since we essentially got back what we put on the clipboard?
- Actually, there's more here than what meets the eye. To discover that, let's start applying some effects!

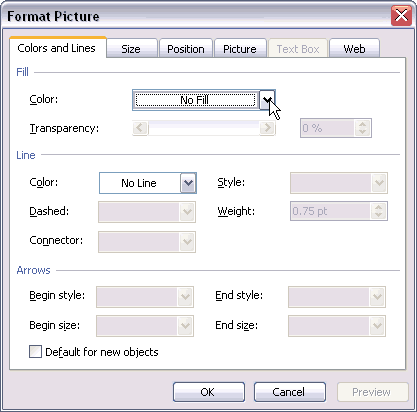
Figure 5: Bring back your picture as a PNG (pronounced PING).- Choose Format | Picture to summon the Format Picture dialog box - and make sure that you are on the Colors and Lines tab. Your Fill Color option now shows No Fill, as shown in Figure 6, below.
- That means you can now apply another fill to your picture.
- Your new fill could be a gradient, a texture, a pattern, or even another picture! Click the downward pointing arrow next to No Fill to open a familiar flyout menu - and choose the Fill Effects option. This brings up the same Fill Effects dialog box that we last visited in Figure 3.

Figure 6: The Format Picture dialog box. - Now, you have your choices with four tabs - we'll just choose the Gradient option for now and fill my picture with a nice blue-green gradient. To make it even better, we experimented with several other gradients, as shown in Figure 7.

Figure 7: Imagine - all this happened just inside PowerPoint!
