Explore Filmora Scrn, a tool that lets you make screen recordings and share them easily.
Author:Geetesh Bajaj
Although video continues to be a powerful medium to distribute content and spread awareness, it’s not always easy to create quality
content, and share it on sites such as YouTube, especially when you need to record a gaming session on your computer, or even a Skype
video session, or a webinar. What can be more confusing? The fact that there are a thousand programs out there that promise everything
under the sun, but once you start using them, you wished there was something better available. Well, it does look like you should
explore Wondershare’s Filmora Scrn.
Filmora Scrn is from Wondershare, a company based in Guangdong, China that creates media programs. You can
download a trial version of
Filmora Scrn from their site.
My contact at Wondershare for this review was Flora - thank you, Flora.
Follow these steps to see a quick walkthrough of using Filmora Scrn:
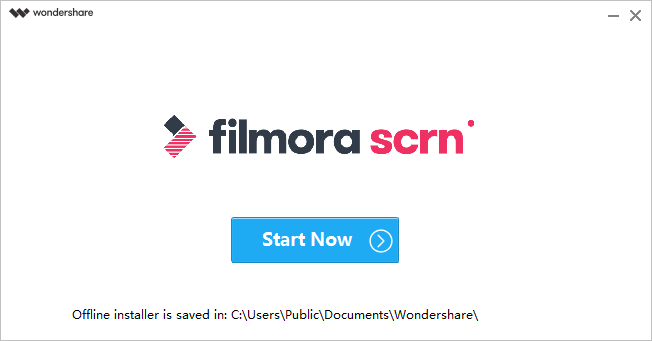
Download the trial version or purchase a licensed version of Filmora Scrn, and run the install program, as shown in
Figure 1, below.
Figure 1: Install Filmora Scrn
Once you finish installing, Filmora Scrn prompts you to run the program for the first time (see Figure 2).
Figure 2: Run Filmora Scrn
You next see the Filmora Scrn opening dialog, as shown in Figure 3, below.
Figure 3: Running Filmora Scrn for the first time
There are three options:
Get Started: This option lets you choose a recording area, decide whether you are recording onscreen activity or a
game, and more.
Quick Capture: Lets you start capturing your onscreen activity almost immediately, with your last used
settings.
Video Editor: Lets you open your existing capture projects
We chose the first option, Get Started because we wanted to explore all the options that Filmora Scrn provides.
You now see the interface shown in Figure 4.
Figure 4: The interface
There are 3 tabs in this screen: Screen, Audio, and Camera. We explain options within these tabs:
Screen: Here you can decide whether you want to record a regular Screen Capture, or if you want to capture a Game.
If you choose to capture a Game, you get options to select a game that’s active on your system and also choose a frame rate (see
Figure 5).
Figure 5: Game captures with Scrn
One of Scrn’s best features is that it allows you to capture your gameplay at higher framerates such as 120fps. The following embedded
video provides a good introduction to Scrn’s game capture abilities.
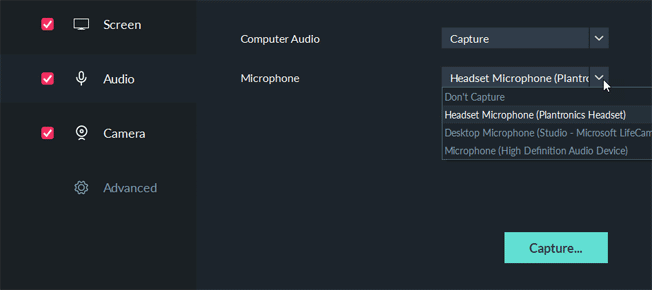
Audio: Here you can choose your audio source (microphone), and whether you want to capture audio at all
(see Figure 6).
Figure 6: Audio capture in Filmora Scrn
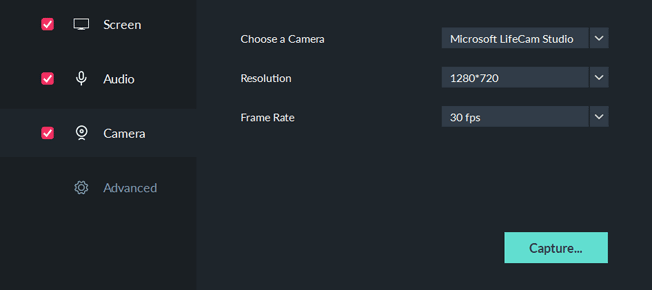
Camera: You can also choose to capture a secondary video source from your webcam to go along with your capture.
Filmora Scrn copes up well with high resolutions and frame rates (see Figure 7).
Figure 7: Capture your webcam output
When you are happy with the settings you choose, press the blue Capture… button.
You’ll now see the Capture panel, as shown in Figure 8, below. To start the capture, you will use
the F10 keyboard shortcut, which also stops an ongoing capture. Similarly, the F9 keyboard
shortcut pauses and resumes captures.
Figure 8: The Capture Panel
Once your capture is done, press F10 to bring up the Your Clips screen, as shown in
Figure 9.
Figure 9: Your Clips
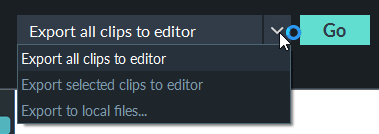
You can now clilck the Go button to open your clips in the Editor screen. You can also click the dropdown list in this screen to
only export selected clips, or even export clips as local files (see Figure 10). The last option is something
you will choose if you do not want to use Filmora Scrn’s video editing options.
Figure 10: Choose how you want to use your clips
We chose the Export all clips to editor option and this loads the editor, as shown in Figure 11,
below. This is a great environment to edit, annotate, and export your videos.
Figure 11: The Filmora Scrn editing environment
The video embedded below shows some power tools and advanced editing options.
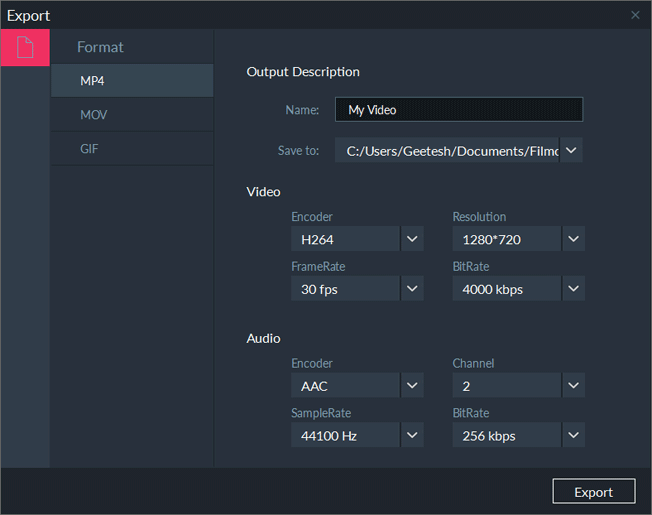
You are next ready to export your video. To do so, choose the Export | Create Video.. option. This brings up the Export dialog
that you can see in Figure 12, below. Notice that you can export as MP4, MOV, and animated GIF files. For each
file type, you can choose encoding, resolutions, FrameRates, BitRates, etc.
Figure 12: Export your video
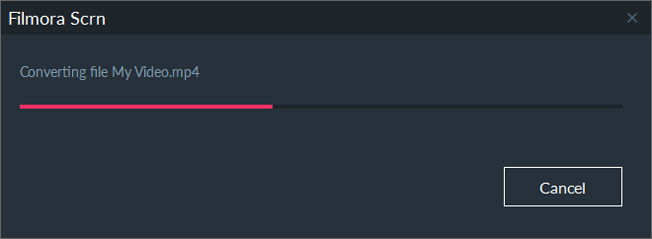
Filmora Scrn will now export your video, as shown in Figure 13.
Figure 13: Converting your file
Filmora Scrn is an amazing capture program for gamers as well as other users and gives you a direct step-by-step wizard style
interface so that there’s now way that you cannot succeed. I wish Filmora Scrn existed all these years!
PowerPoint Keyboard Shortcuts and Sequences:
PowerPoint 2016, 2013, 2011, 2010, 2007 and 2003 for Windows
PowerPoint 2016 and 2011 for Mac
PowerPoint Online for Windows and Mac
Have your ever used keyboard shortcuts and sequences in PowerPoint? Or are you a complete keyboard aficionado?
Do you want to learn about some new shortcuts? Or do you want to know if your favorite keyboard shortcuts are documented?